Navigation Menu
The navigation menu permanently displays the universal tools (Dashboard, Accounts, Contacts, Tasks, Calendar and Reports) at the top and the screen and user-specific tools below. The user-specific tools for Sales, Marketing and Service & Support, can be opened or hidden, depending upon the individual’s requirements.
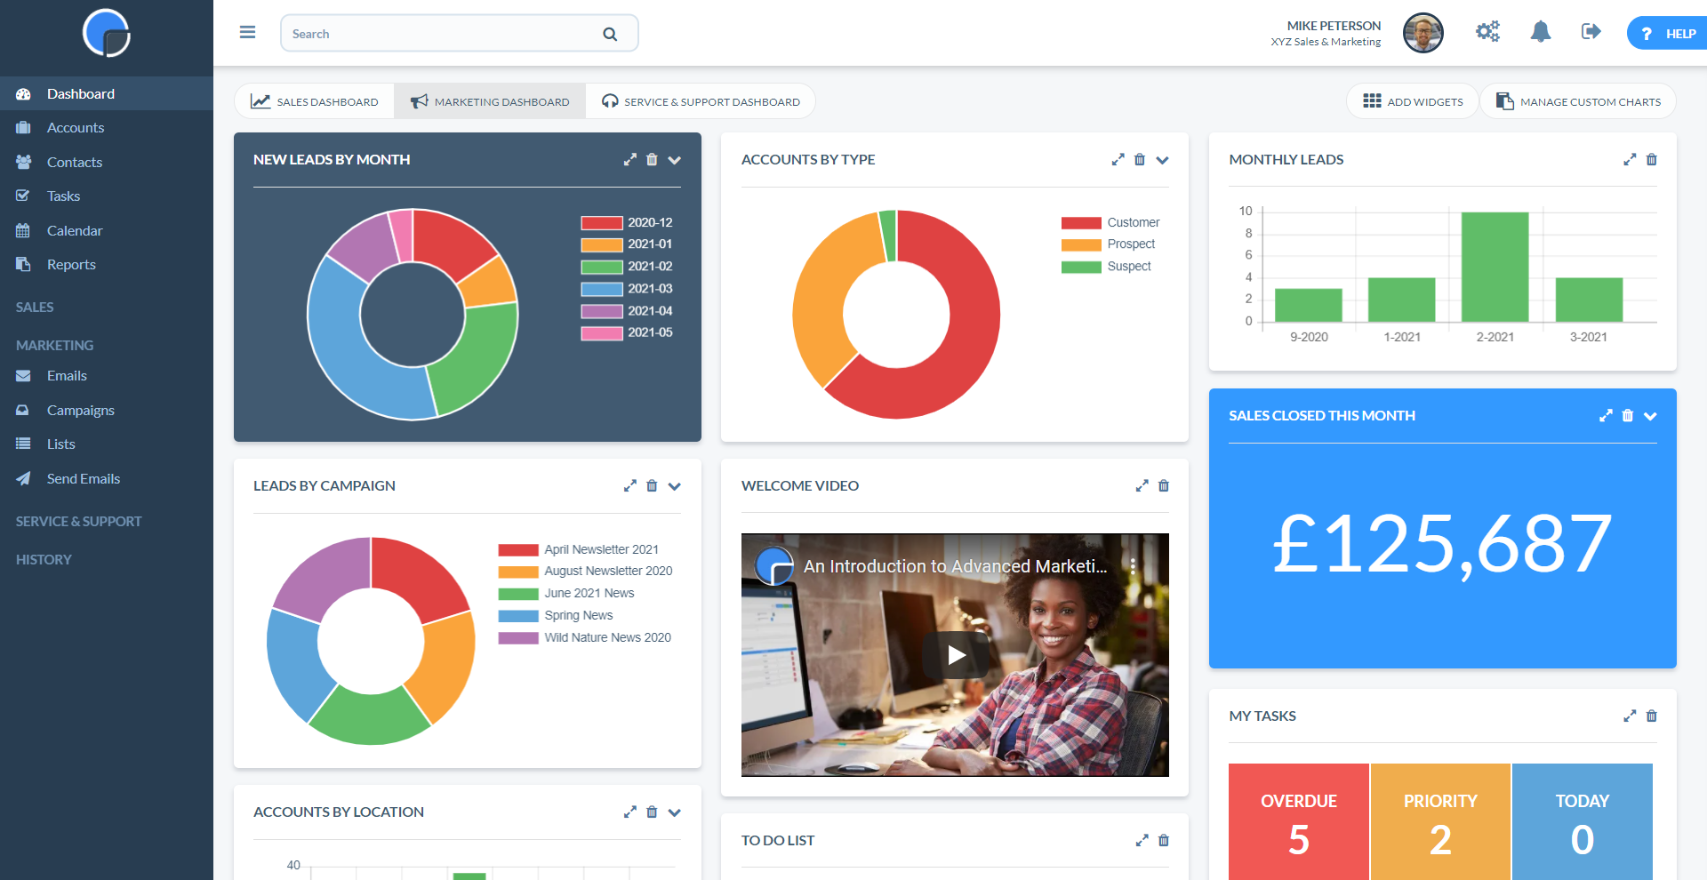
There’s a single menu entry for the dashboards where you can select your personal default option, but still have access to the others. This means your CRM users can set up their own default dashboard to display the widgets and charts that track their KPIs and provide actionable insights.
For example, Sales team members can hide the Marketing and Service & Support tools to show just the Sales menu with Activities, Opportunities and Quotations. Marketing team members can choose to show just the Marketing options, giving easy access to their Emails, Campaigns and Lists. And your Service & Support users will just be presented with the Cases option on the menu.
Key Definitions
- Accounts are the names of the companies and organisations that you deal with. These include your customers, prospects, partners and, if you want to, your suppliers, press publications and analyst organisations. An example account would be a company like BHP Minerals.
- Contacts are the people who work in your accounts. For instance, you might have a contact called John Brown who works in BHP Minerals.
- Opportunities are potential sales that you have identified in an account. For example, you might have an opportunity to sell 5,000 widgets to your Account BHP Minerals.
- Tasks are things you need to do, for example, call John Brown back on 15th August.
- Activities are records of things that you have done, for example the summary of a telephone conversation with BHP Minerals.
2. Your Dashboard
When you first login to your new CRM system you’ll be taken to the Sales Dashboard. We have pre-loaded some demo data so you can see how your CRM will look once your add your own data. You can delete these Accounts at any time by going to Settings, Data Management then clicking Delete Demo Data.
If you are a new user you’ll be invited to take a walkthrough of the CRM dashboard. This will show you how to access the key elements of the page. If you wish, you can come back to this later by clicking the link on the Help Drawer, see below.

Introduction Video
To help you get started we recommend you watch our tutorial Introduction Video. This will explain the main features of the CRM and how to use them.
Help Drawers
Your CRM includes a pull-out Help Drawer on each page that will explain how to use that particular page or feature. To open the Help Drawer click on the blue “? HELP” tab in the top right-hand corner of your screen. Where appropriate, the Help Drawer includes video tutorials and links to this Customer Support Hub for further information.
If you wish to replay the dashboard Introduction, open the Help Drawer and click on Replay Sales Introduction.

Notifications
Clicking the bell icon will open your notifications. At first these will include links to help you get started including an invitation to attend our weekly introductory webinar. We will keep in touch from time to time with relevant information to manage your CRM system.
Custom Dashboard
You can create your own custom dashboard by adding, editing and deleting the widgets to suit your business needs. Click on the Add Widgets button in the right-hand corner of the screen. Move your mouse over the widgets and click to Remove or Add each widget, then close. You can resize the widgets and move them on your screen by dragging and dropping with your mouse.

Configurable Widgets
Some of your dashboard widgets can be configured to show different data, for example the Sales Piechart. You’ll see there is a settings cog in the top right hand corner of the widget which, when clicked, will display the options available. You can delete a widget by clicking the trash icon in the right-hand corner.


Custom Charts
Customers using our Enterprise plan also have the option to create their own Custom Chart widgets (coming soon).
Search Functions
At the very top of the page, in the blue/grey section, there is a Global search bar that will search across all the data in your CRM. The search will commence as you start to type your search term.
There is also a search box at the top of each of the data tables/grids, e.g. Accounts, Contacts, Opportunities. Using the predictive search feature you can search for any detail within the account by typing a key word in the search box. The predictive search will return a list of any accounts that match your search as you type and these will be filtered the more on the word you type.

3. Add Company Accounts
Watch our tutorial video “How to Add an Account”.
One of the first things you will need to do is to add some Accounts, or company records, to your CRM. Accounts are the organisations you deal with. You can then add your Contacts, the individuals you deal with at a company, to the Account.
Add Accounts Individually
On the left hand Main Menu, click on Accounts to view your Accounts – here you’ll see the demo accounts that have been pre-loaded in your CRM. You can delete these at any time by going to Settings, Data Management, then Delete Demo Data.
If you are just starting out and have just a few Accounts to load you can add them one at a time using the ‘+ Add’ button. Complete the details for the new account and Save. The only mandatory fields are the Account Name and Account Owner. The Account Owner is the person in your organisation responsible for managing that account. The CRM will automatically create a dropdown list of your CRM Users in the Account Owner field for you to select from.

Bulk Data Import
If you already have data stored in another format (e.g. spreadsheets, Outlook, another CRM system) you can import the data in bulk to your CRM. Do refer to our Data Import page and watch the video to help you.
You will need to prepare your data as a .CSV file. If you use any specific terminology to describe your data fields you may also want to read up on Custom Settings for your CRM (see Step 5 above).
When you are ready to start importing your data, in Settings, at the top of your screen, go to Data Management then Import Data. Find out more about Importing Data.
Navigating the Accounts Page
If you have more than one user you can sort your Accounts by My Accounts, My Group’s Accounts and All Accounts, using the dropdown menu located next to the Search bar.
You can sort your Accounts data by clicking on the column titles (e.g. Account Name, Source), or you can search for the information you want using the Search bar. Using the predictive search feature you can search for any detail within the account by typing a key word in the search box. The predictive search will return a list of any accounts that match your search as you type and these will be filtered the more of the word you type.
You can personalise the tables/grids in your CRM to suit your business needs, see Custom Data Tables.

More information on Navigating the CRM.
Intelligent Data Import
The Intelligent Data Import will look to match your data with the pre-set fields of your CRM. You can also create Custom Fields to fit your business needs and set-up custom dropdown lists, using Custom Dropdown Lists within each field.
Need Help?
If you get stuck, just send your spreadsheet with the data in it to our customer support team.
4. Editing Company Accounts
From the Accounts home page, click on the Account Name to open the account. You can add new Accounts by clicking the ‘+ Add’ icon.
Click Edit to amend the Account details, and Save. An asterisk denotes a mandatory field. To can customise the dropdown fields using Custom Dropdown Lists.

In the open account, scroll down to view the various sections, or grids within the account, e.g. Contacts, Tasks, Activities, Opportunities. To edit these sections, click the ‘+ Add’ icons, and Save.

5. Custom Settings
Custom Data Tables/Grids
Watch the tutorial video “How to create custom grids/tables”
You can select which columns display in your data tables, e.g Accounts, Contacts etc, by clicking the Columns button and selecting/de-selecting the column titles from the dropdown menu. You can also add in any Custom Fields you have created. Please see Custom Data Tables for more information.

You can change the order of the columns of the data tables by simply “dragging and dropping” from the column title bar. Depending upon the size of screen you are viewing on, you may need to de-select some columns to display the columns before you can drag and drop. Clicking the ‘+’ icon for each account, on the far right of the grid, will open the data held in the columns not visible on your screen.

Custom Fields
Watch our tutorial video “How to create a CRM Custom Field”
You can create Custom Fields in the forms in your Accounts, Contacts, Opportunities, Tasks etc. to meet your business needs. An example of a field in the Account screen would be Type, Owner, Source etc.

To create a custom field, in Settings, go to System Settings then Custom Fields. In Custom Fields select the name of the section form/table you wish to configure, e.g. Accounts.
You can switch the various fields on and off by checking the ‘Live’ box on the left-hand side of the screen. You can change the text of the field and add new fields by typing in any box marked Custom Field. Go to Custom Fields for full details on creating custom fields.
Click Save Changes to save your custom field.

Dropdown Lists
Watch our tutorial video “How to create Custom Dropdown Lists”
You can create Custom Dropdown Lists, previously known as Look-up Tables, within the Custom Fields facility, to create lists that fit with your company’s operation.

In Settings, go to System Settings then Custom Dropdown Lists. Click on the name of the list you wish to edit, or click ‘+ Add’ to create a new list.

Give your list a name and click the Continue button.

Enter the name of your list item and click ‘Add new item’. Reorder your items by “dragging and dropping” the row from the arrow icon in the left-hand column. Remove items by clicking the trash icon. Then click to save.

Back in your Custom Field, in the Look-up Table field search for your new Dropdown List.
6. Managing Contacts
Adding Contacts
Watch our tutorial video “How to Add a Contact”.
Once you have some Company Accounts loaded you can then add Contacts to the Accounts. You may have already imported your Contacts with your Accounts but if not you can add them individually to your Accounts. N.B. You cannot add a Contact before you have created an Account. Go to Adding Contacts for full details.
You can add a new Contact by clicking the ‘ Add’ button on the summary Contacts grid and searching for the relevant account or you can open the Account and click the ‘+ Add’ icon above the Contacts table. Simply add the contact’s details to the form and Save. You can also type your contact’s details directly into the grid fields and clicking the save icon.

Editing Contacts
To edit an existing Contact simply click on the contact name and this will open the contact form. Edit the form and click save. The form allows you to record who is the decision maker on the account and if they have a different address from the company account. If you are using the integrated Marketing module, you can set the contact to “hold” so they do not receive your marketing emails. The contact will automatically be set to “hold” if they have unsubscribed from your emails.

7. Adding Tasks, Activities & Opportunities
Watch our tutorial video “How to Add Tasks and Activities”
As you manage your customers you will want to record the various activities and interactions you make with your customer. For example, meetings, telephone calls, emails, sales activity etc. You can record these within the Company Account pages.
On the Accounts page you will find separate grids/tables for Tasks, Activities and Opportunities. To add a new Task, Activity or Opportunity simply click on the ‘+ Add’ icon and a new box will open.

Tasks and Activities work in much the same way, providing dropdown lists for each field and a date picker to set up your Task or record your Activity. You can change the dropdown lists to meet your business needs by using custom dropdowns lists – go back to Step 4 – Custom Settings for more details.

Adding an Opportunity works similarly but with a few more options. The data you add here will be fed into your Sales dashboard and Sales Funnel and will determine your sales forecasting.
Watch the tutorial video “How to add an Opportunity”
Again you can customise the Form Fields and Dropdown Lists to suit your business. The asterisks indicate a mandatory field and you can also add a Marketing Campaign to record your lead source details. The main difference is the Opportunity Lines table, i.e. product lines. Here you simply add the product or service you are selling from the dropdown list, the quantity and unit price, and save. you can add more Opportunity Lines once saved.
