![]()
Our Zapier Template allows closed Opportunities that have been created in the CRM to generate invoices in QuickBooks Online and update customer records.
Zapier Integration
To integrate your CRM with Zapier, first follow the instruction as described in the “CRM Integration” tab, on this page.
N.B. As this template is a Multi-Step Zap you will need to be using the Zapier “Starter” plan or higher.
CRM Setup
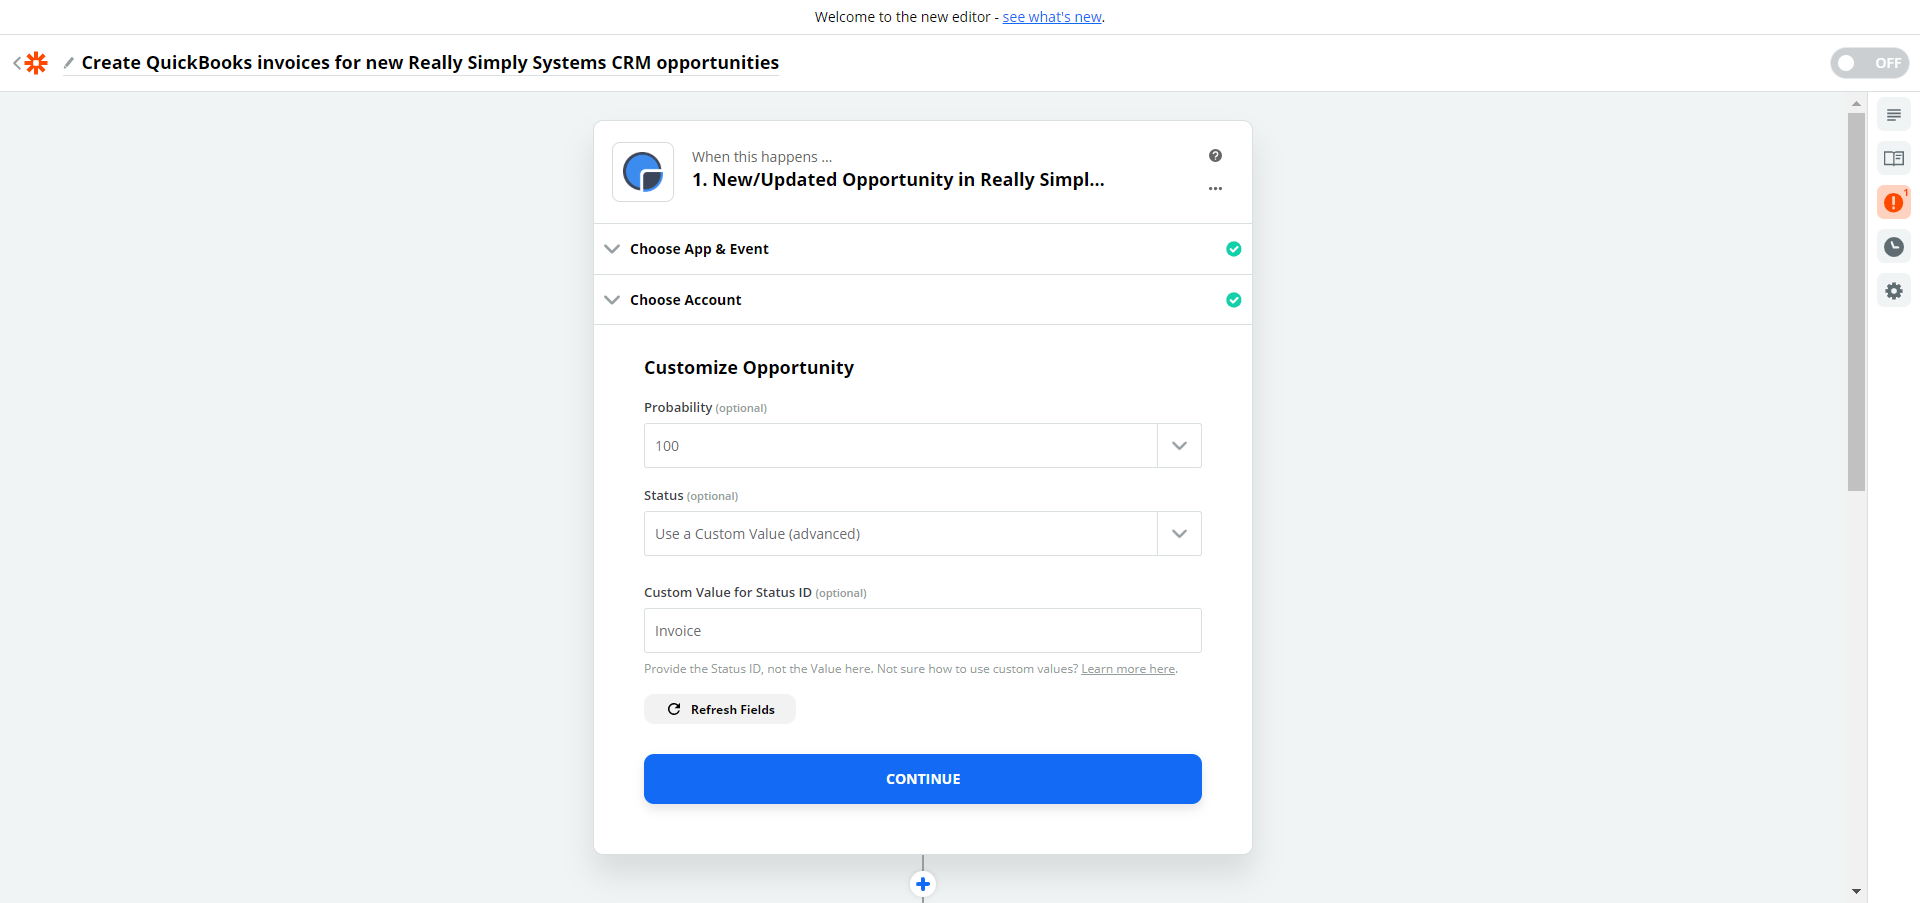
The Zap is triggered by an Opportunity being created or saved in the CRM with a Probability of 100% and a Status of “Invoice”.
Custom Settings – Opportunity Status
The Opportunity Status of “Invoice” is a custom setting. To add “Invoice” to your Status dropdown list, go to Settings, System Settings and open Custom Dropdown Lists. From here go to Opportunity Status and click to open. Type “Invoice” in the new item box and click “ADD NEW ITEM” then save. This will add the option of Invoice to the Opportunity Status.
Custom Settings – Email Address
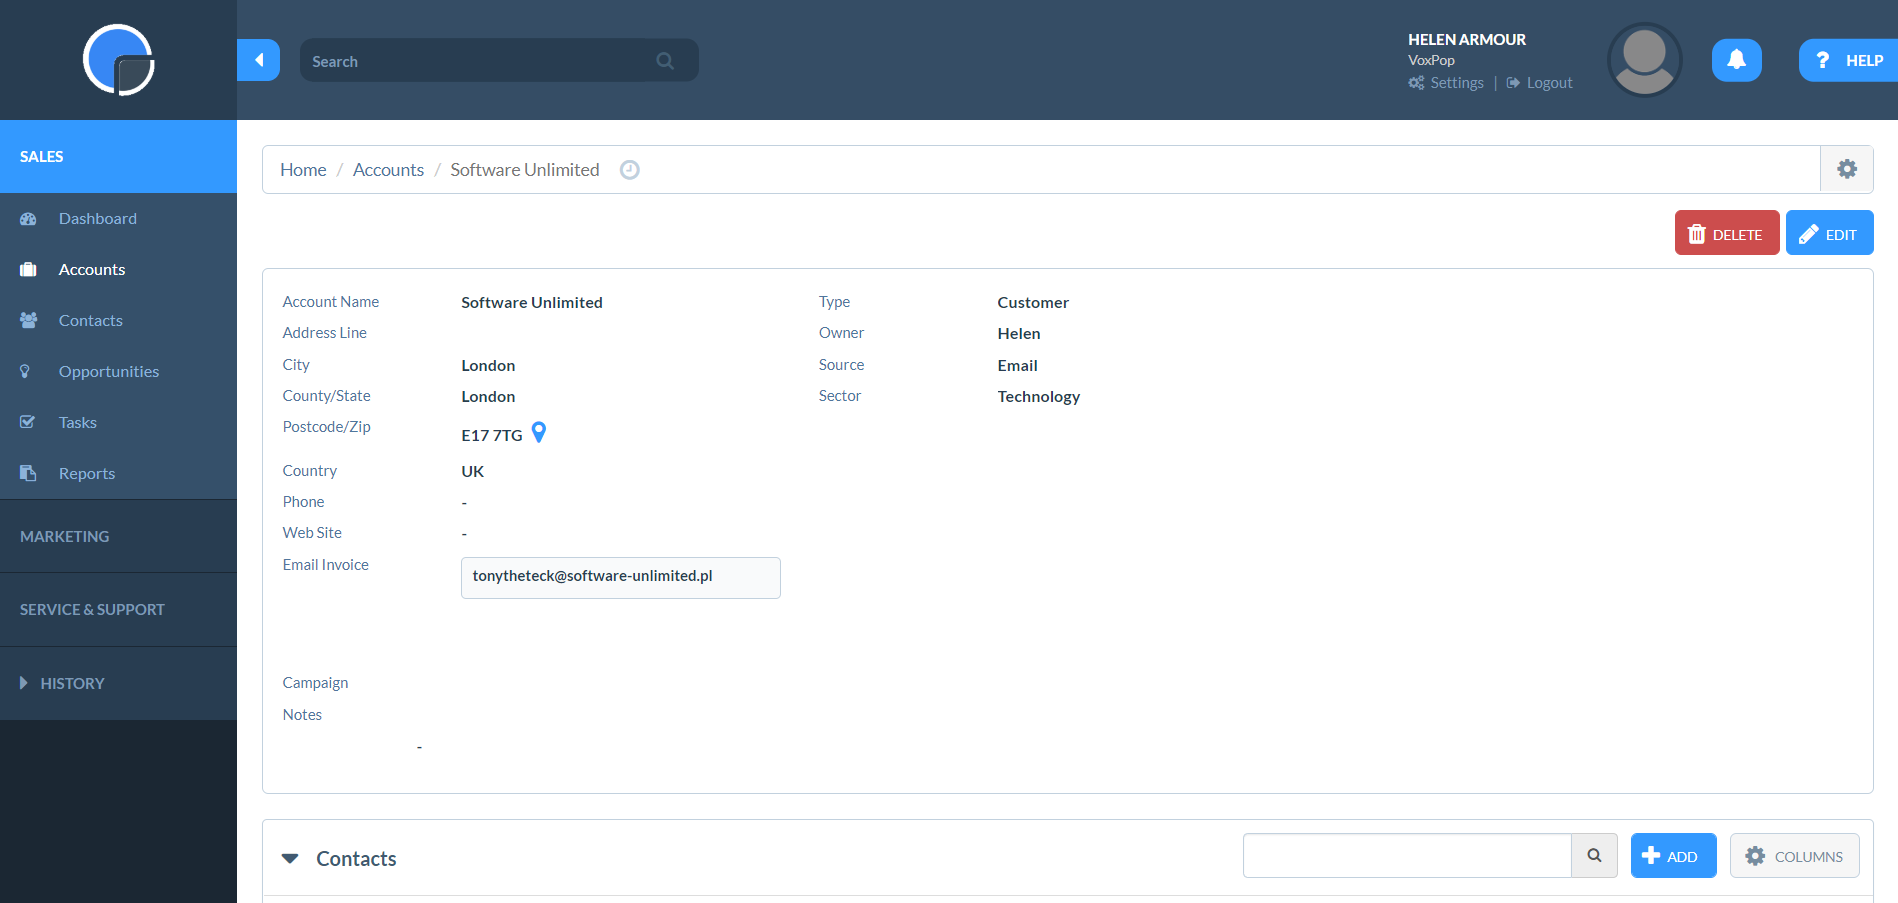
The QuickBooks Online Zapier integration currently does not recognise the Contact record where the email address is stored in the CRM. New customers created are therefore allocated a temporary email address in QuickBooks to enable to transaction to be processed. As a work around, you can create a new custom field at the Account level and add the email address for invoicing there. In this example the field has been titled “Email Invoice”.
QuickBooks Zap
Having set up your Zapier integration, create a Zap using this Zapier Link and select the template titled “Create QuickBooks invoices for new SpotlerCRM Opportunities“.
Please note, we have not included images of every screen you will encounter in completing the Zap. You can click on the images to enlarge.
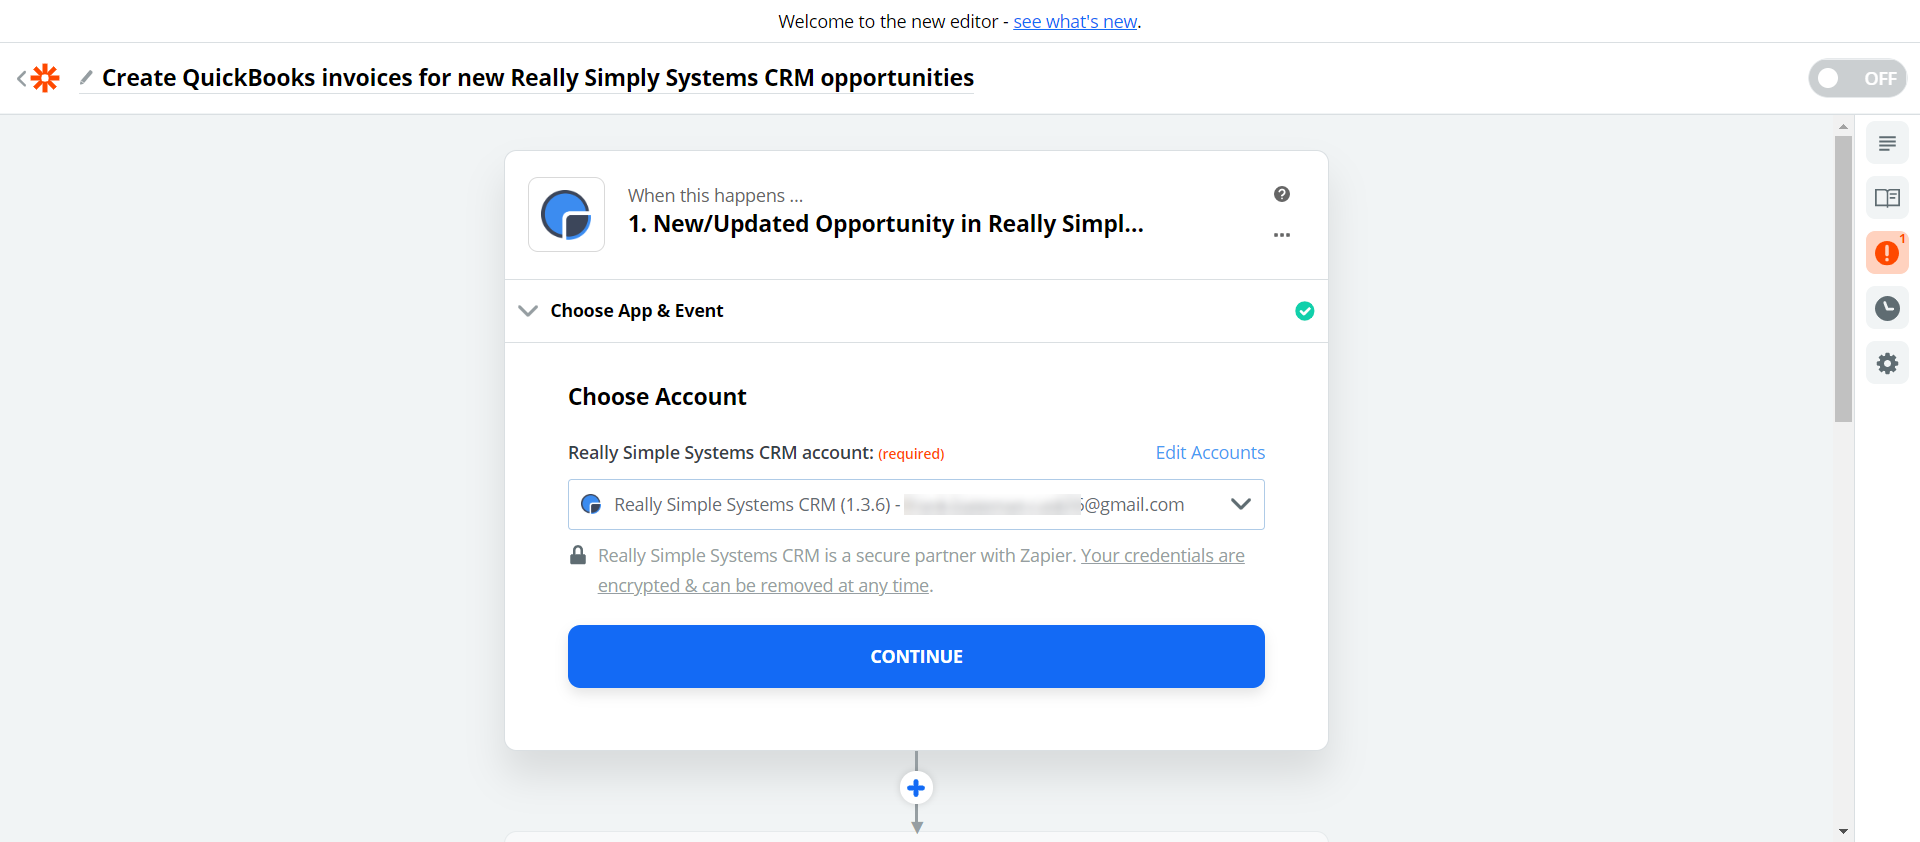
Step One
The first stage of the connection looks for New/Updated Opportunities in the CRM. Follow the instructions on your screen to first connect and authorise your SpotlerCRM account, using the dropdown menu, then click Continue.
The next screen contains the code for the QuickBooks Template – DO NOT EDIT ANY OF THE DATA SHOWN – click to Continue.
As you progress through each stage, Zapier gives you the option to test the connection. Click to either Test & Continue or Skip Test.

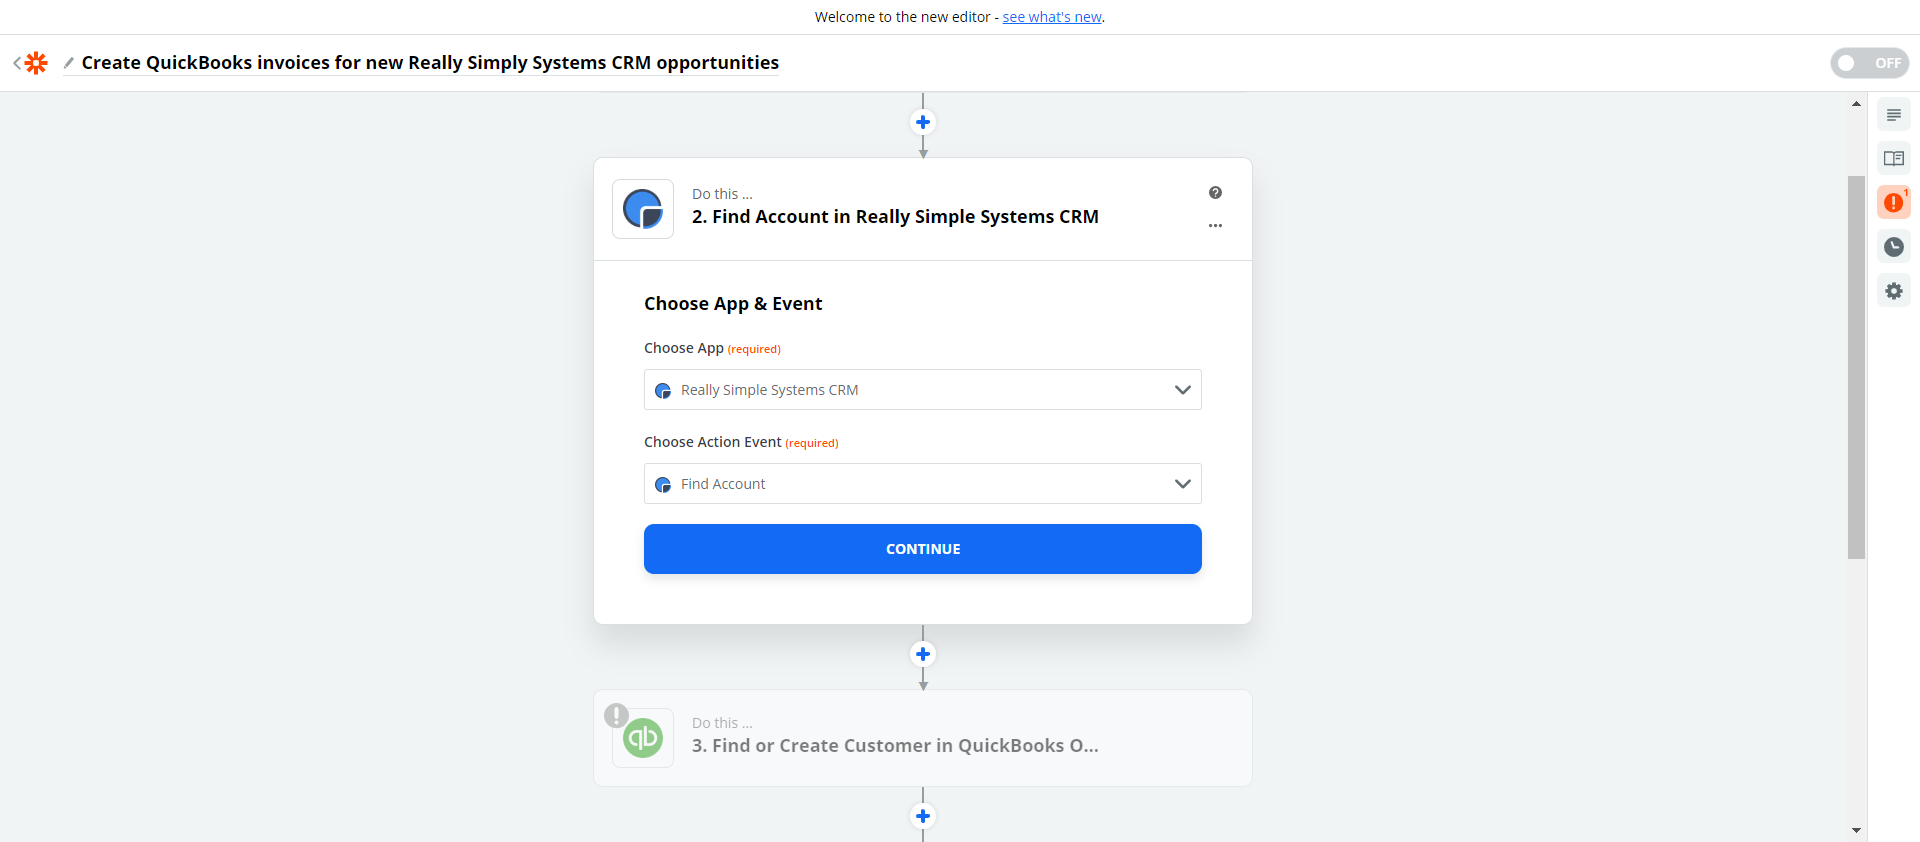
Step Two
The second stage looks to find Accounts in the CRM. Select your CRM account from the dropdown menu and click to Continue.

The next screen contains the code for the QuickBooks Template – DO NOT EDIT ANY OF THE DATA SHOWN – click to Continue. Again this will give you the the option to test the connection. Click to either Test & Continue or Skip Test.
Step Three
The third step is to connect your QuickBooks account to Find or Create Customers. DO NOT EDIT THE DEFAULT FIELDS – click to Continue, then find your QuickBooks account from the dropdown menu, then click Connect.
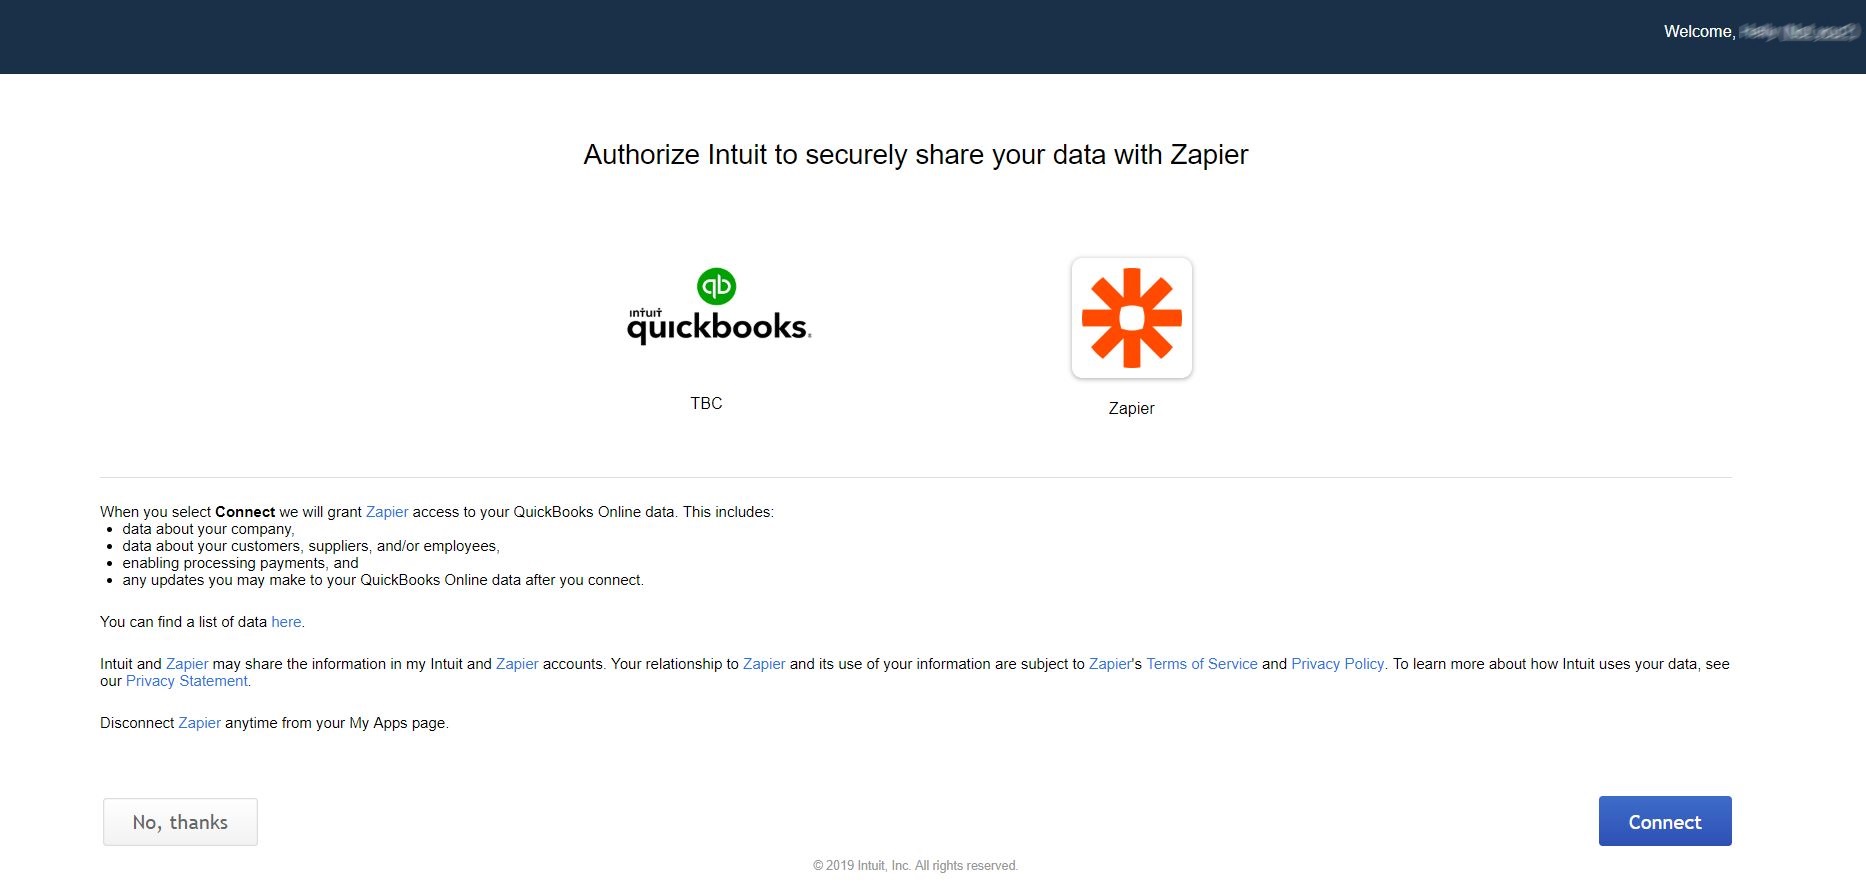
Once the connection has been authorised, click to Continue.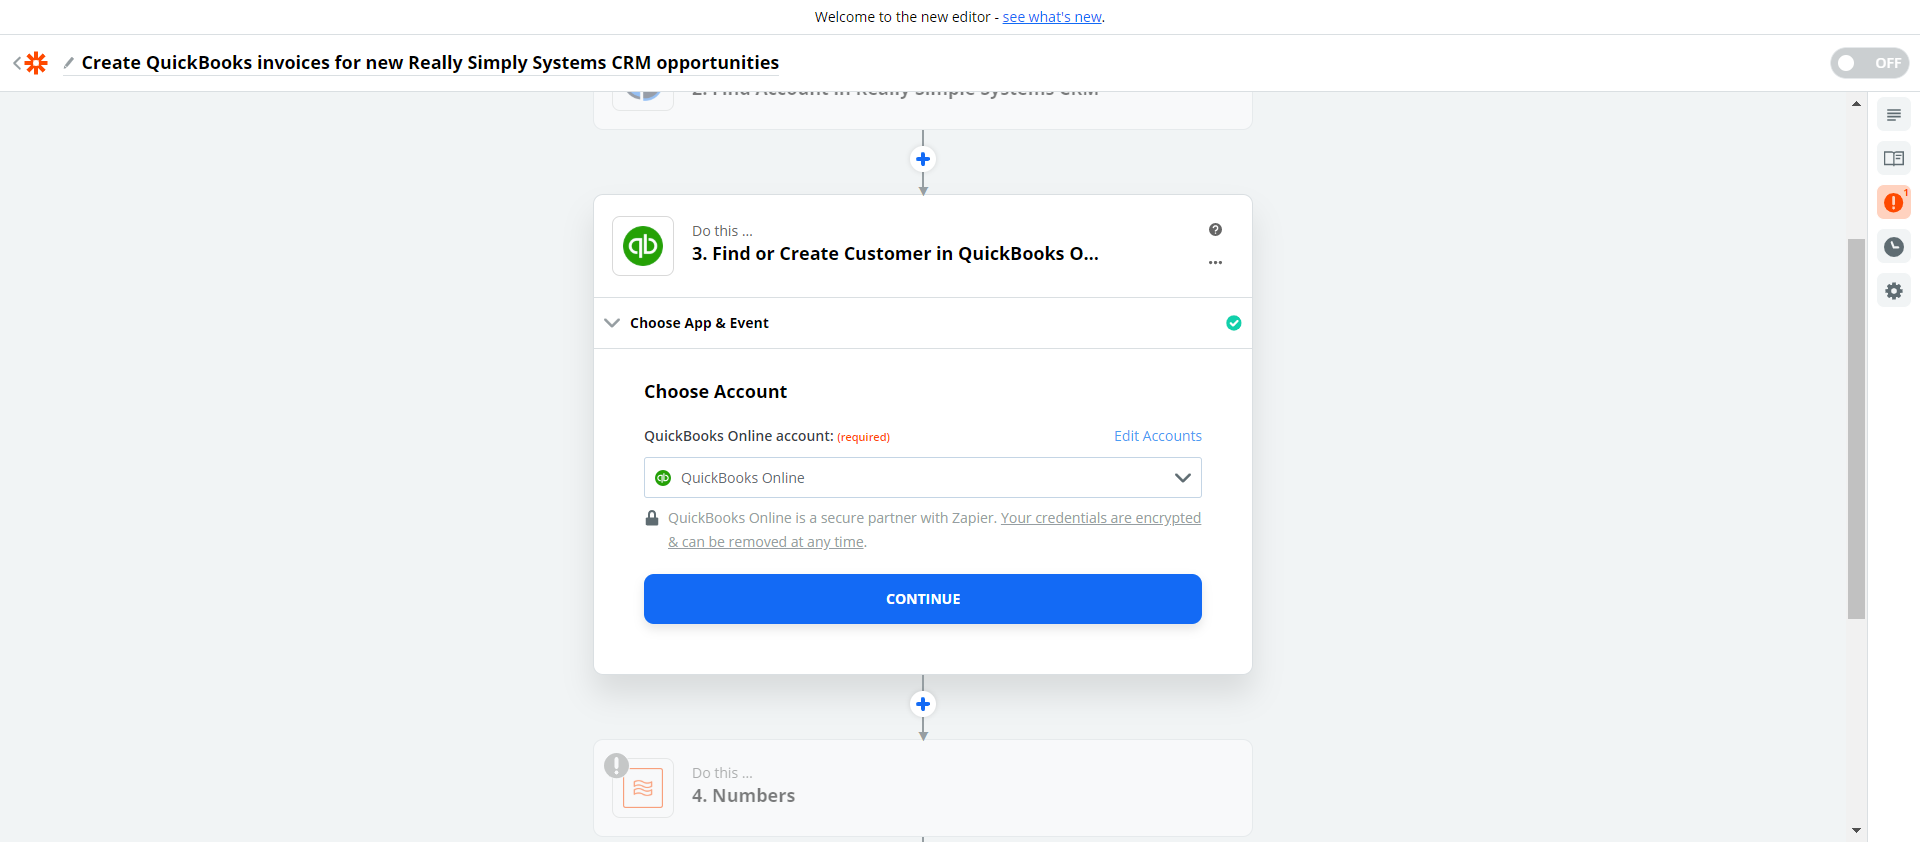
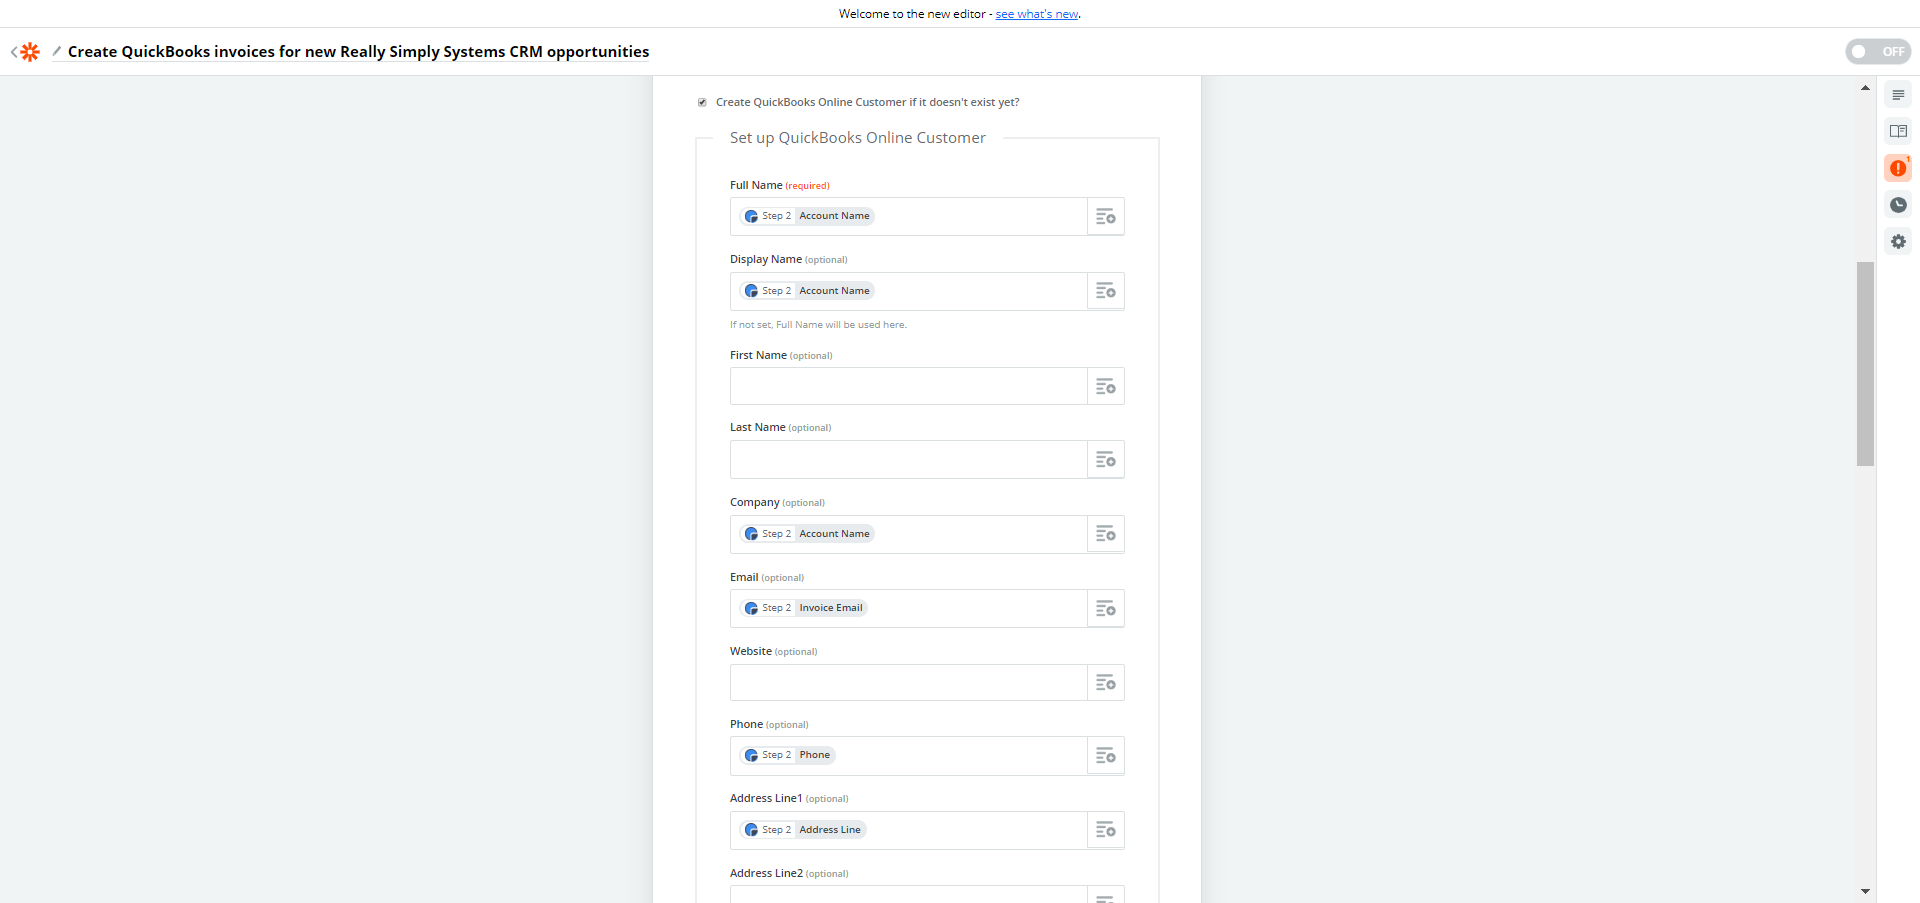
The next screen contains the code for the QuickBooks Template – DO NOT EDIT ANY OF THE DATA SHOWN – EXCEPT TO MAP THE CUSTOM EMAIL FIELD YOU CREATED IN THE CRM, AS FOLLOWS.
Mapping the Email Custom Field
As the QuickBooks Zapier integration currently does not recognise the Contact’s email address in the CRM, you will need to edit the Zap to map the email field to your custom field in the CRM Account.
On the next screen, Customize Customer, scroll down to “Email (Optional)” and click the icon on the right and first select “Find Account”. This will list the fields you have set up on your CRM Account page. Scroll down to find the custom field you added earlier, in this example is its titled “Email Invoice”. Click to select. Then scroll to the bottom of the page and click Continue.
Again this will give you the the option to test the connection. Click to either Test & Continue or Skip Test.
Step Four
The next step “Numbers” calculates the invoice data and the various screens contain the code for the template – DO NOT EDIT ANY OF THE DATA SHOWN – click Continue, or Test & Continue, on each screen until you reach Step 5.
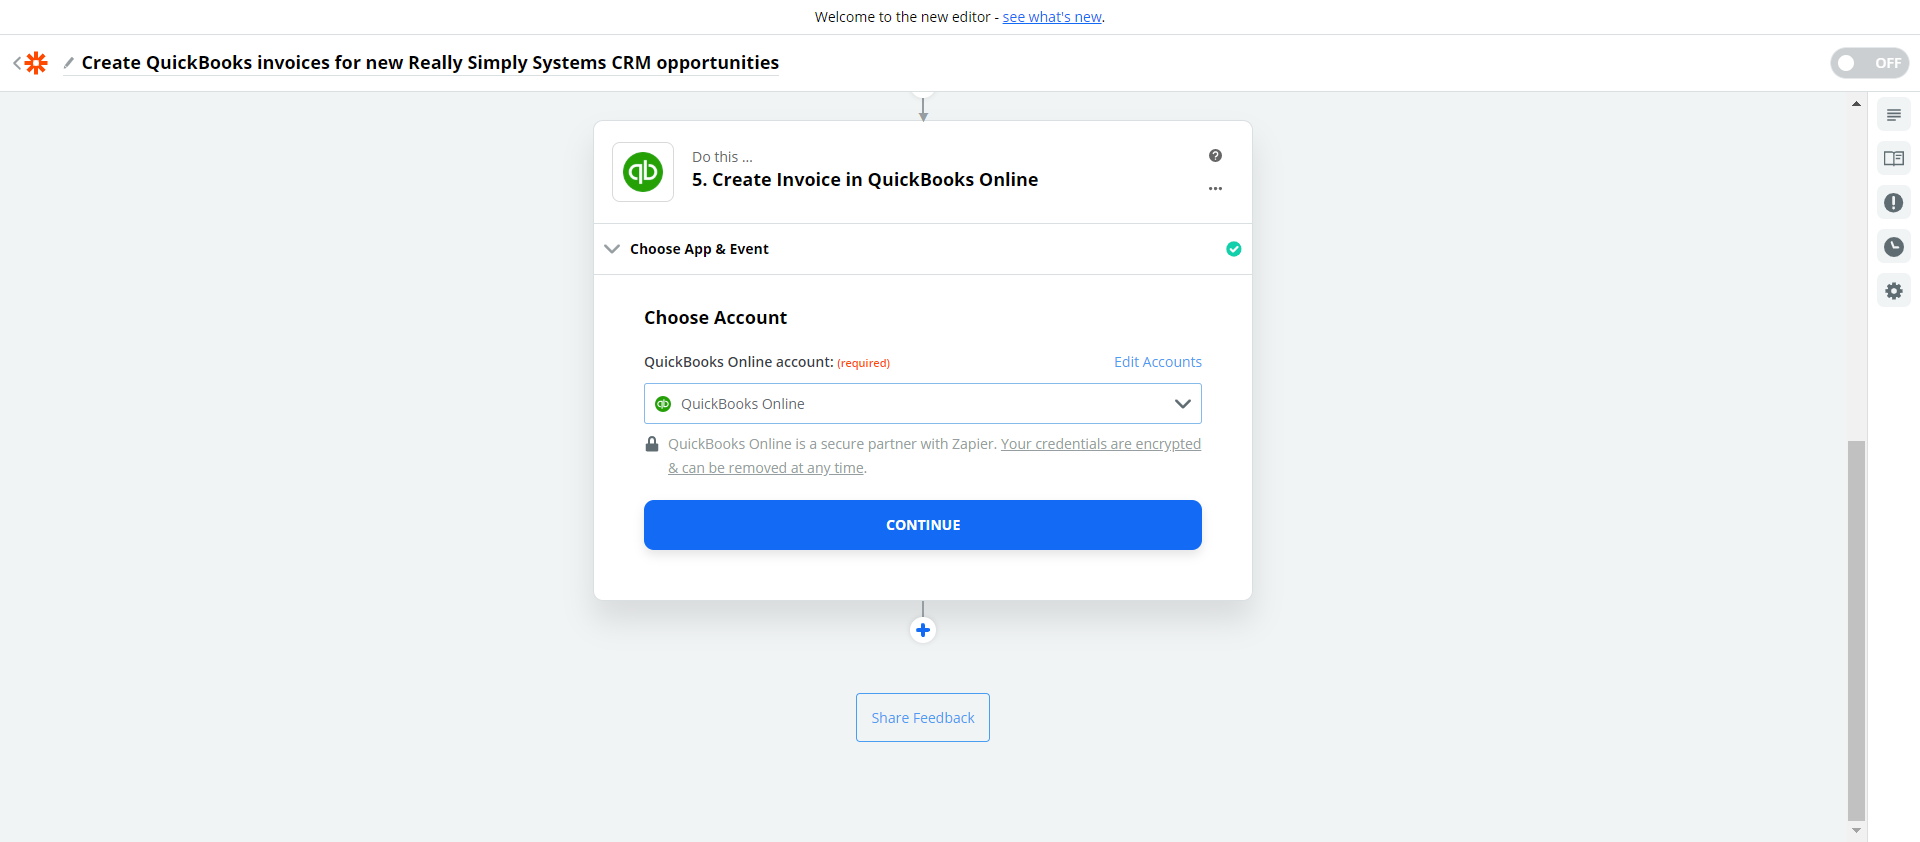
Step Five
The final stage is to set up to create the invoice in QuickBooks. Click Continue.
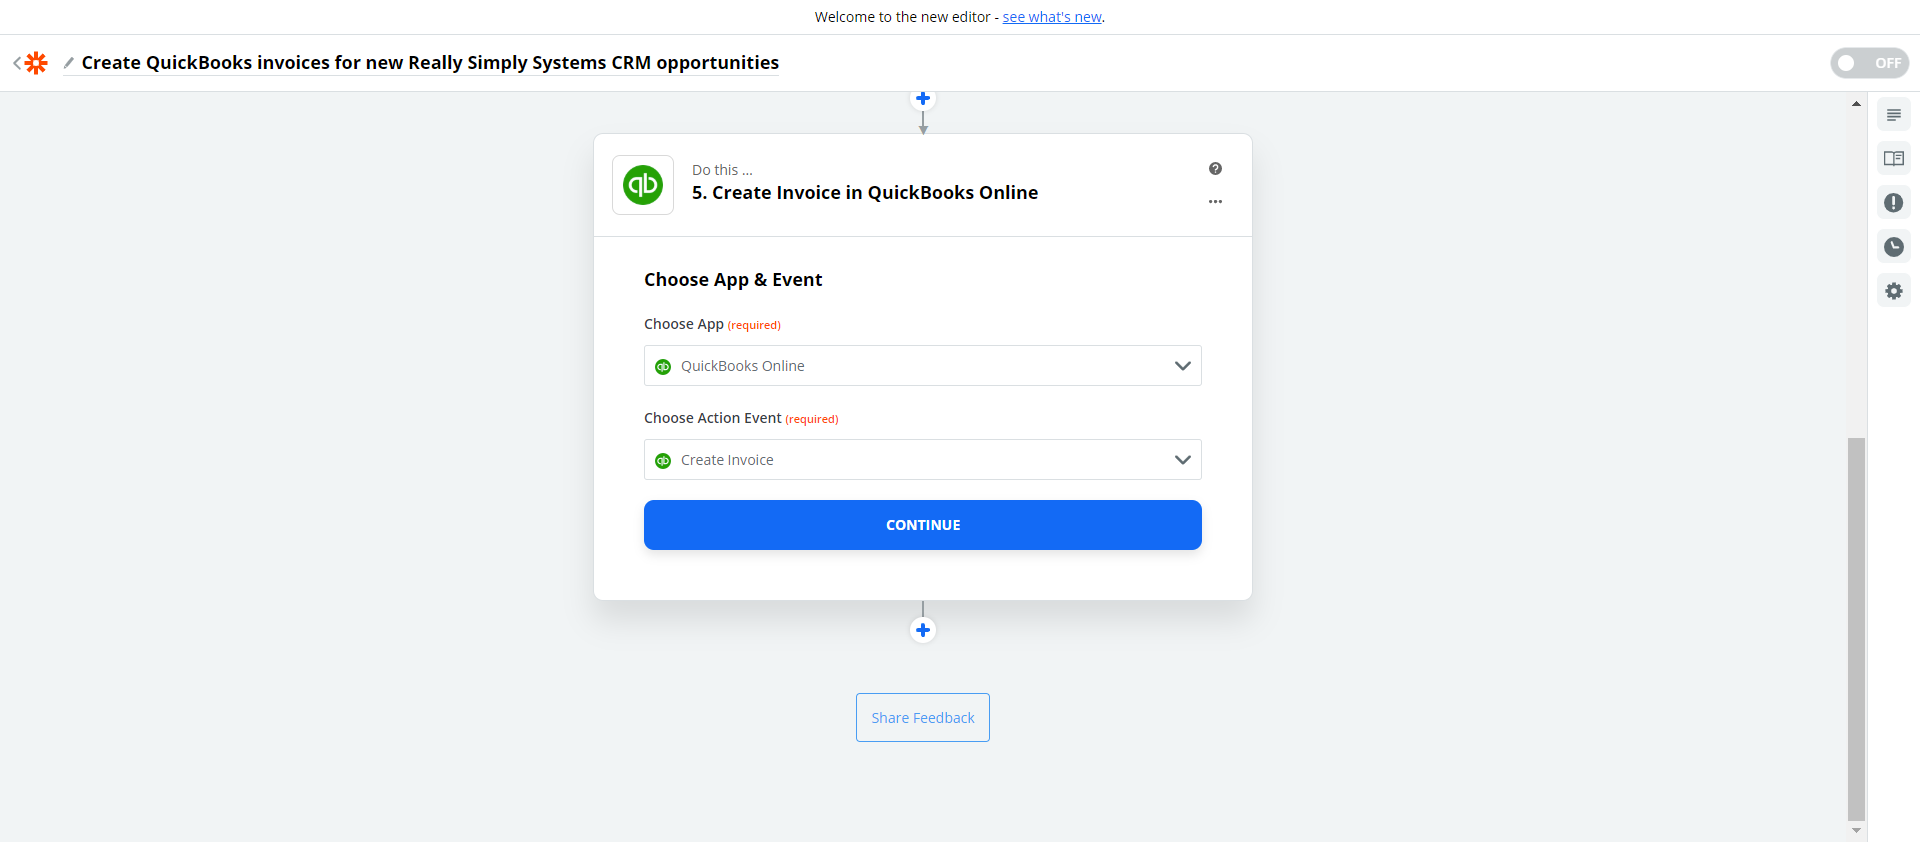
Then, again select your QuickBooks account, and Continue.
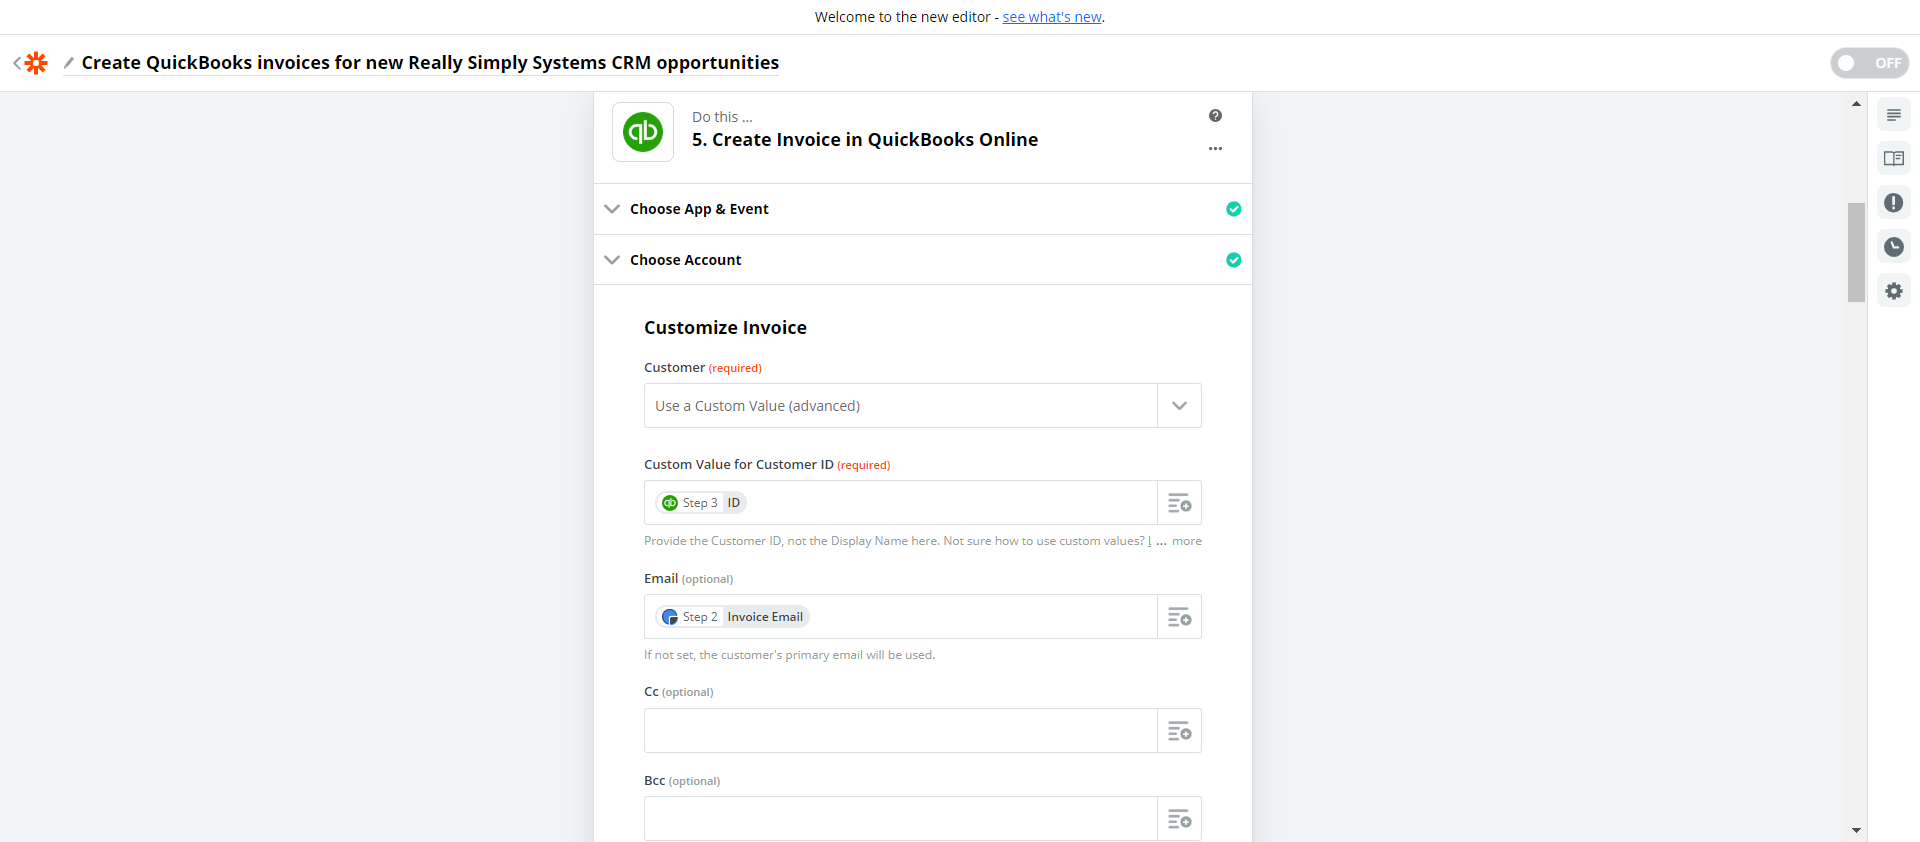
On the next screen, Customize Invoice, as in Step Three (above), you will need to map the email address from you CRM. Scroll down to the field “Email (Optional)” and delete the default entry “UpdateThisLater@quickbooks.com”. Click the icon on the right and first select “Find Account”. This will list the fields you have set up on your CRM Account page. Scroll down to find the custom field you added earlier, in this example is its titled “Email Invoice”. Click to select. Then scroll to the bottom and click Continue.
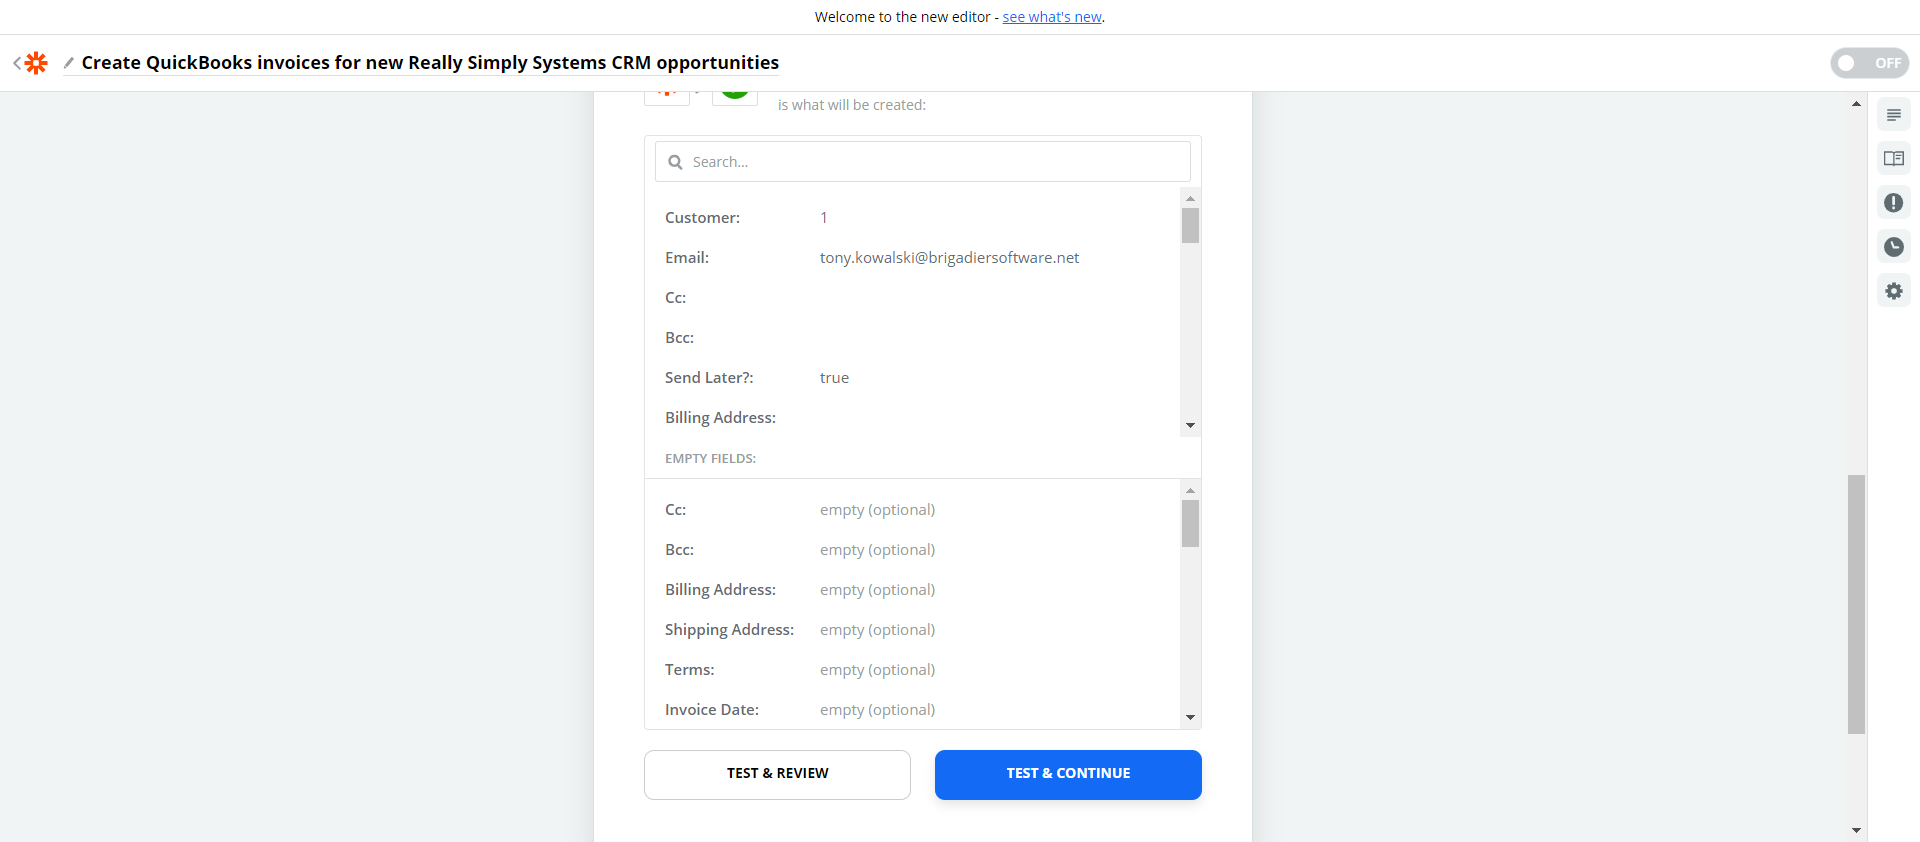
Again this will give you the the option to test the connection. Click to either Test & Continue.
Finally, at the bottom of your screen use the toggle button to switch on your Zap. Your screen should now display a summary the five stages.
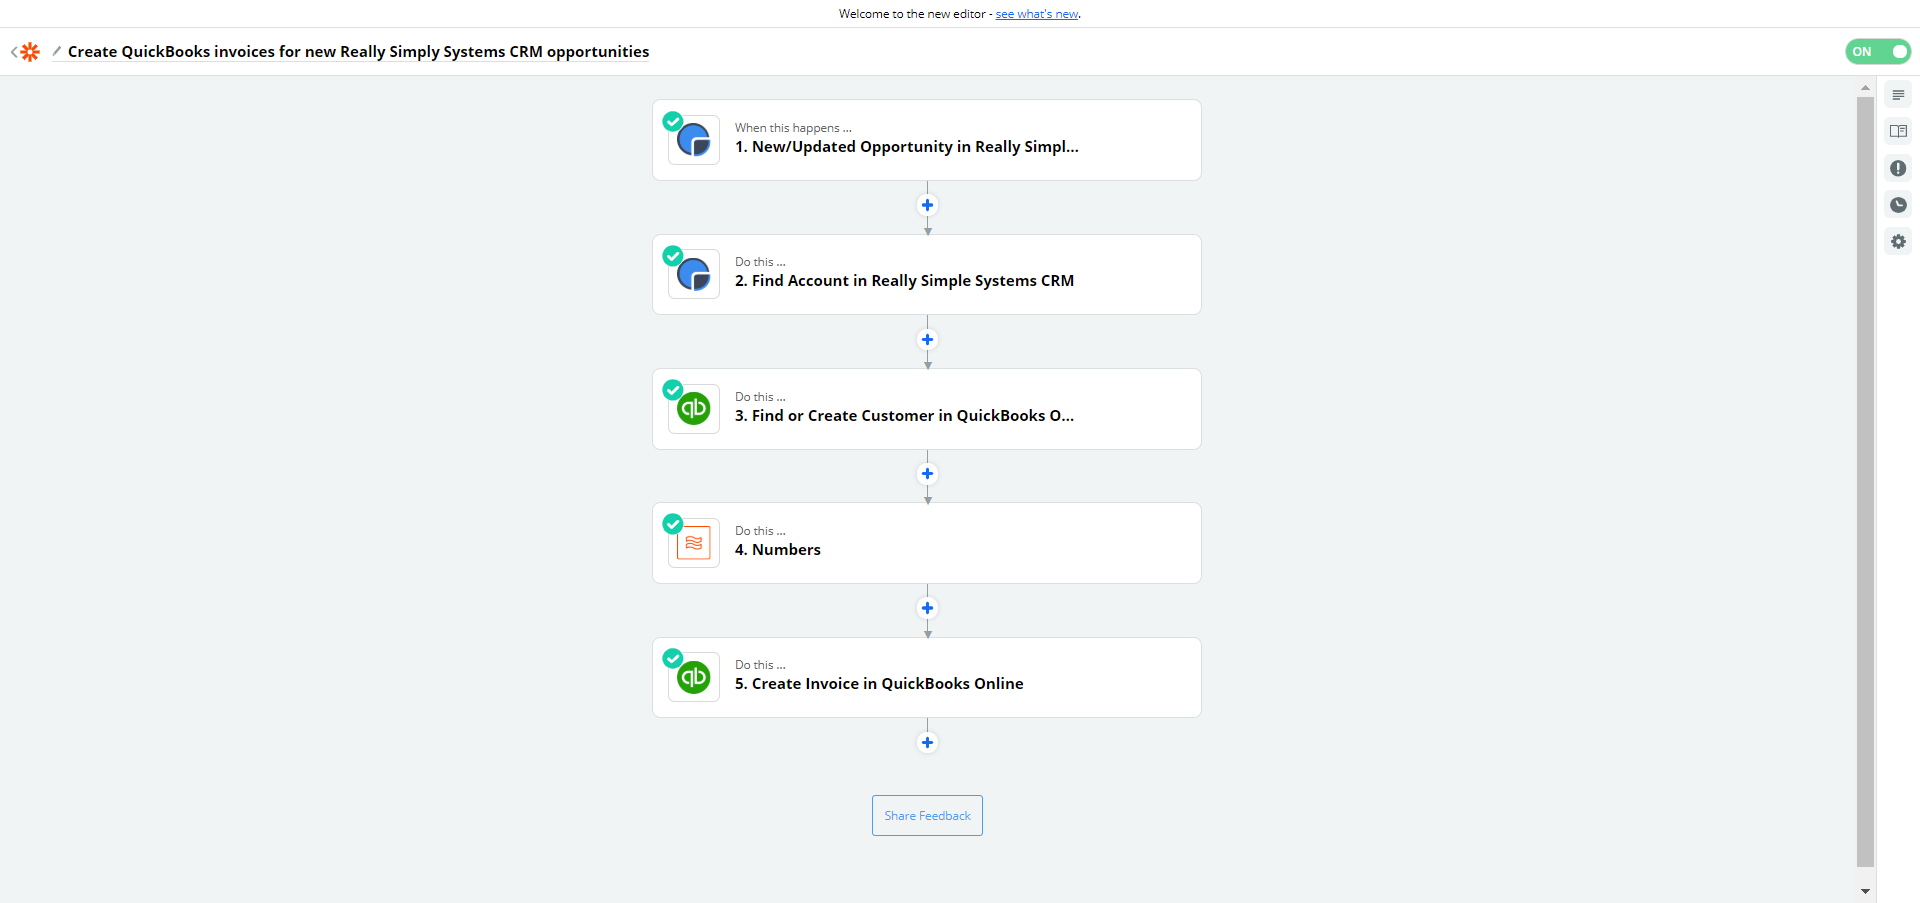
Once the Zap is created and switched on, each time a new Opportunity is created in your CRM, where the Probability is set to 100% and the Status to “Invoice”, a new invoice and customer account will be created in QuickBooks.
The Zap will:
• Check that the Customer exists in QuickBooks and if not, it will create a new customer account
• Create a new invoice including all the Opportunity line items
Notes
• If the Opportunity is re-saved with a Status of “Invoice”, another invoice will be generated. If the Account name has been changed when re-saved another Customer will be created.
• Therefore you should change the Status back to Closed once the invoice has been generated to avoid the Opportunity being saved again and the Zap triggered again