What is Zapier
 Zapier is an integration platform that allows disparate cloud products to pass data back and forth. It can provide basic integration between two systems. It can’t provide full synchronization, but it can do simple tasks such as passing data from a web form to the CRM, or from the CRM to another application.
For example, you could pass your new contact data to an email marketing system like Mailchimp or to your contacts list in Google Contacts. Zapier integrates with over 1,500 different apps so it’s likely the systems you use can be integrated with your CRM.
We also provide a range of Templates that speed integration with popular applications. See the Templates tab above.
Zapier Integration Overview
Zapier integration creates a workflow that automatically passes data between you apps by providing a series of Triggers, Actions and Searches. For example, if you are using an external email marketing system, like Mailchimp, you’ll want to pass any new leads from your CRM to the email app.
In this scenario, the creation of a new lead in the CRM would be the workflow Trigger to commence a “Zap”. You could then set up an Action in Zapier telling it what to do with the new contact, e.g. add it to a mailing list in Mailchimp. You can then map fields from your CRM to pass over the data required, e.g. email address.
The different systems you are integrating with will all have relevant Triggers, Actions and Searches available to use.
Example: Google Sheets
 For example, Google Sheets provides four possible Triggers:
- New or Updated Spreadsheet Row
- New Spreadsheet Row
- New Worksheet
- New Spreadsheet
Five possible Actions:
- Update Spreadsheet Row
- Create Spreadsheet Row
- Create Spreadsheet Row(s)
- Delete Spreadsheet Row
- Create Spreadsheet
And one possible Search
- Lookup Spreadsheet Row
Zapier Price Plans
You can put together a Trigger from one application with an Action, and possibly a Search, from another application, and you have a “Zap”. Depending on the payment plan you have with Zapier.com, Zapier will check for Actions between every 15 minutes (Free Plan) and 5 minutes (paid for plans). With the Free Plan you can run up to 100 Tasks per month. Paid plans start at $20/month for 1,000 Tasks/Month.
We’ve created the following Templates in Zapier so you can quickly set up popular integrations. These templates have most of the data mapping set up and you can modify them to map additional fields if you want to.
More Templates
Create QuickBooks invoices for new SpotlerCRM opportunities
This integration looks for Opportunities in your CRM with a status of “Invoice” and automatically generates an invoice in Quickbooks online accounting system with multiple line items.
Follow up your Facebook Lead Ads in SpotlerCRM
Make sure your valuable Facebook leads get followed up promptly by passing them to SpotlerCRM. This template will create a Contact in SpotlerCRM if it doesn’t already exist and then create a task to follow up.
Create contacts in SpotlerCRM from new Typeform submissions
Get new leads quickly into your CRM by automating their capture from Typeform. This template will create a Contact in SpotlerCRM if it isn’t there already and then create an Activity recording the Typeform submission.
Create Subscribers in Mailchimp from new contacts in SpotlerCRM
Keep your Mailchimp list up to date by automatically subscribing new Contacts from SpotlerCRM.
Add new Mailchimp subscribers to SpotlerCRM
Keep your CRM up to date by automatically adding new Mailchimp subscribers with this integration. Whenever you get a new subscriber in Mailchimp, Zapier will automatically add them to SpotlerCRM. Be careful using this integration at the same time as the one above or you’ll create a loop!
Create SpotlerCRM accounts from new QuickBooks customers
Use this integration to create a new account in SpotlerCRM whenever a new customer is created in QuickBooks.
SpotlerCRM Zapier Integration
SpotlerCRM integration with Zapier provides the following Triggers, Actions and Searches:
Five Triggers:
- New Contact
- New/Updated Account
- New Activity
- New Task
- New/Updated Opportunity
Eight Actions/Searches:
- Create Account
- Create Contact
- Create Task
- Create Activity
- Create Opportunity
- Update Dropdown List
- Find Account (matching on Account Name or ID)
- Find Contact (matching on email address)
Setting up your Zapier Integration
To integrate your SpotlerCRM with other apps you use through Zapier you’ll first need to enable our API Version 4 and create an account with Zapier.com.
Enabling the API V4
If you are an Administrator of your CRM the API V4 will automatically be enabled for you. If the User setting up your Zapier integration is not an Administrator you will need to enable the API for them. In your CRM, go to Settings then Integrations and API V4.
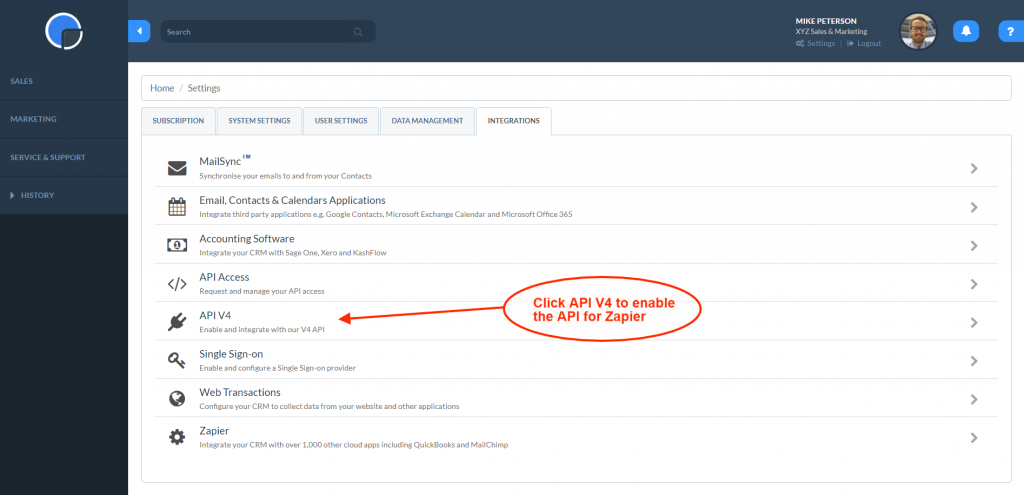
Click “Enable API Access to Users”. Select the User you wish to enable the API for and click Enable Access.
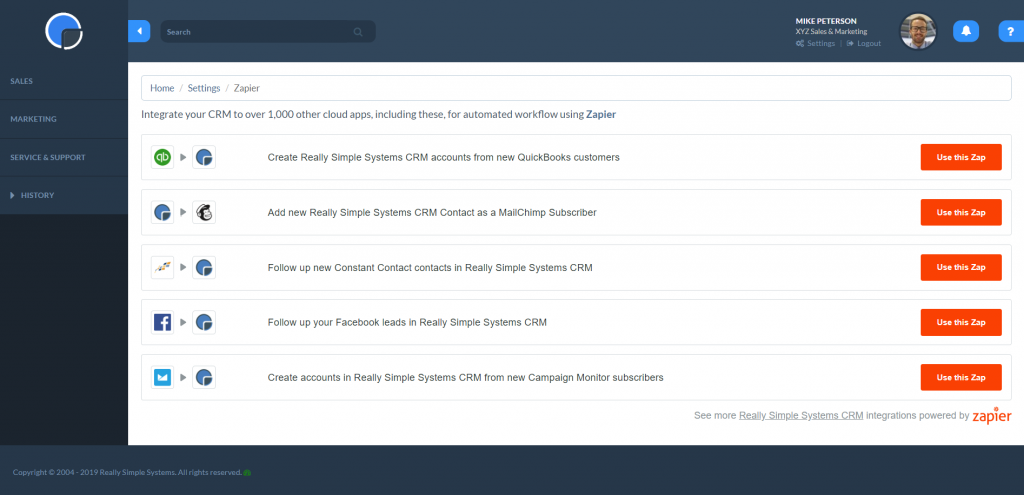
Clicking the Zapier link on the Integrations page takes you to a selection of Zap templates you may like to use, or click through to Zapier to create your own.
Signup with Zapier
If you haven’t done so already, sign up with Zapier at Zapier.com.
Connect your SpotlerCRM Account
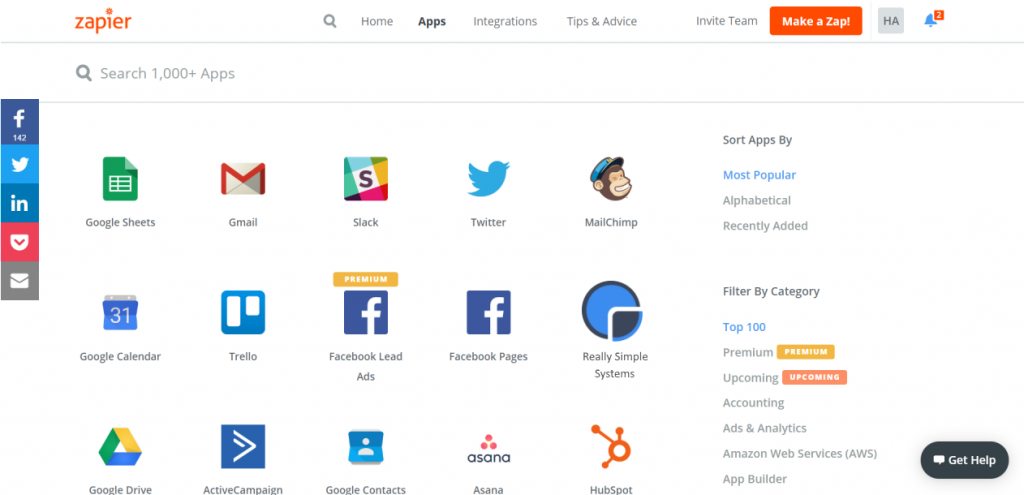
In Zapier, use the app search box to find SpotlerCRM and click to select.
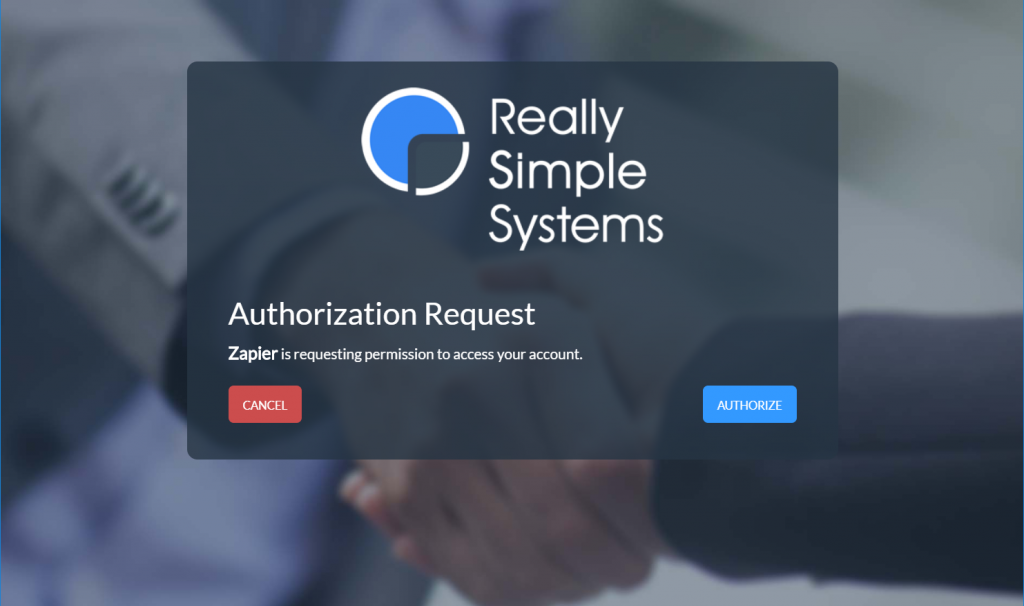
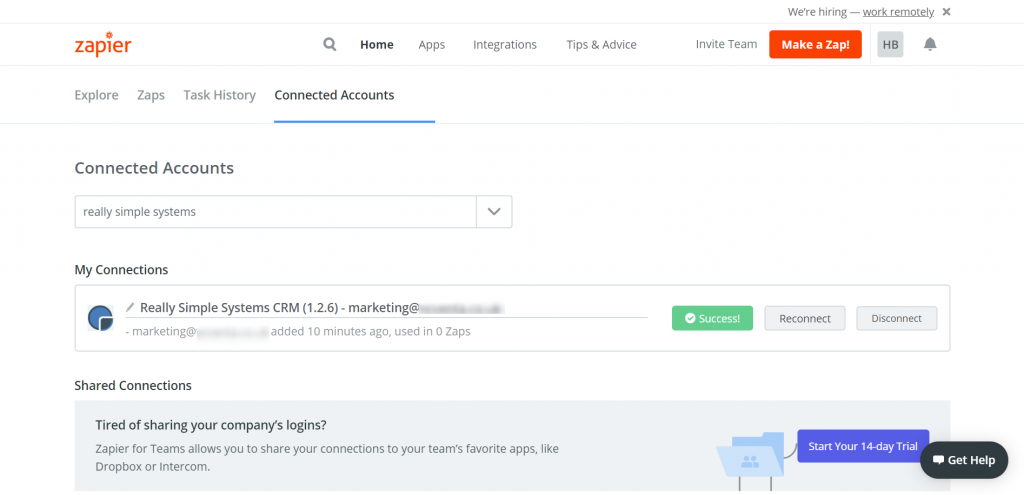
This will bring up a dialogue box asking you to login to the CRM. Enter the credentials of the User you enabled the API for and click the Authorize button. The dialogue box will close and will return you to the Connected Accounts page in Zapier where you will see the SpotlerCRM connection. Click the Test button to make sure it works – you should see a green Success button.
Creating a Zap
If you can’t use one of our pre-defined templates you can create your own integration from scratch.
Create Zaps with Other Apps
From your Zapier integration dashboard click the big orange “Make A Zap!” button at the top of your screen. Then search for SpotlerCRM in the apps and click to select.
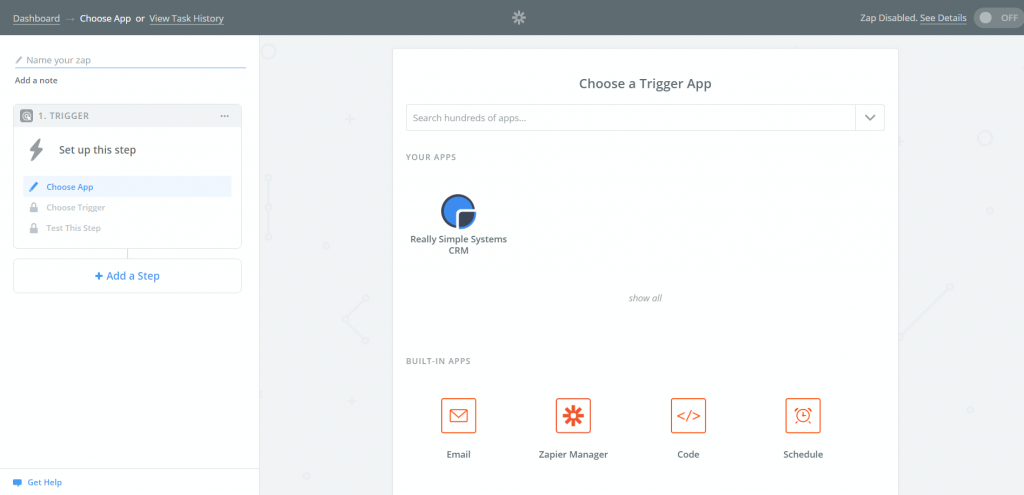
Select the SpotlerCRM app as your Trigger app.
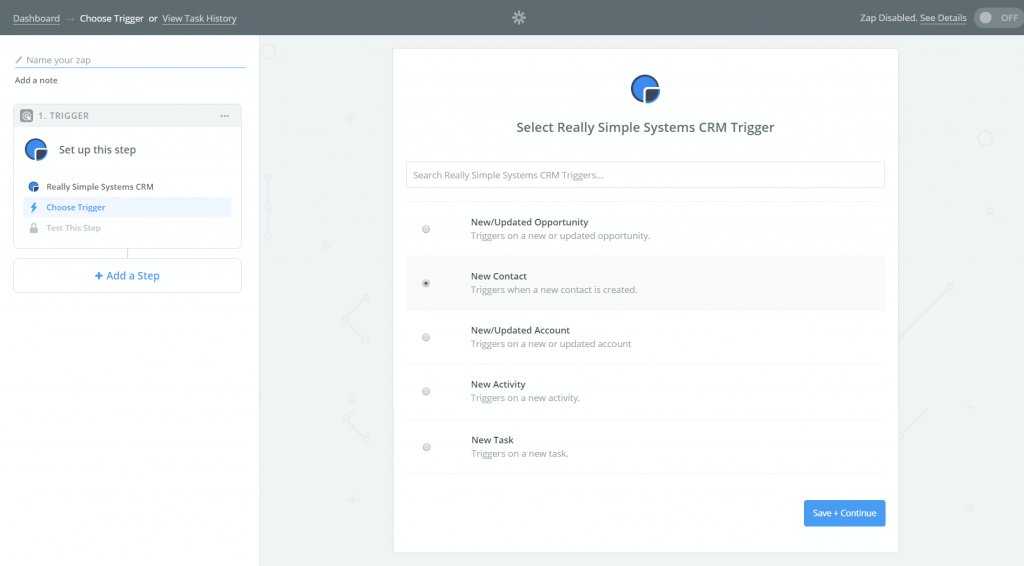
- The choose from the list of Triggers available, for example “New Contact”
- Make sure you have at least one Contact set up in the CRM and then click “Save & Continue”
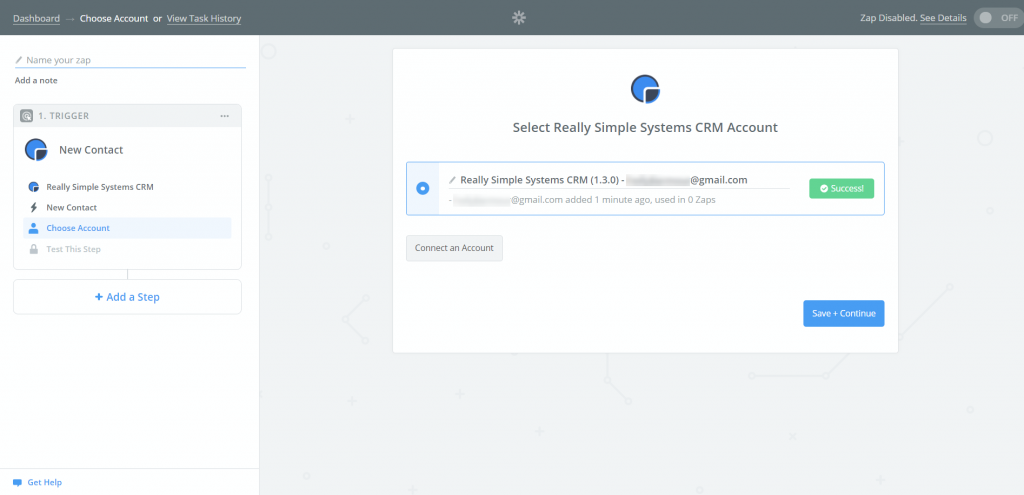
You can test the connection by clicking the “Test” button then click to “Continue”.
You can see what Contacts Zapier has retrieved by opening the samples then click “Continue”. Don’t worry that the results come back in a seemingly random order – that’s just the way Zapier gets the data!
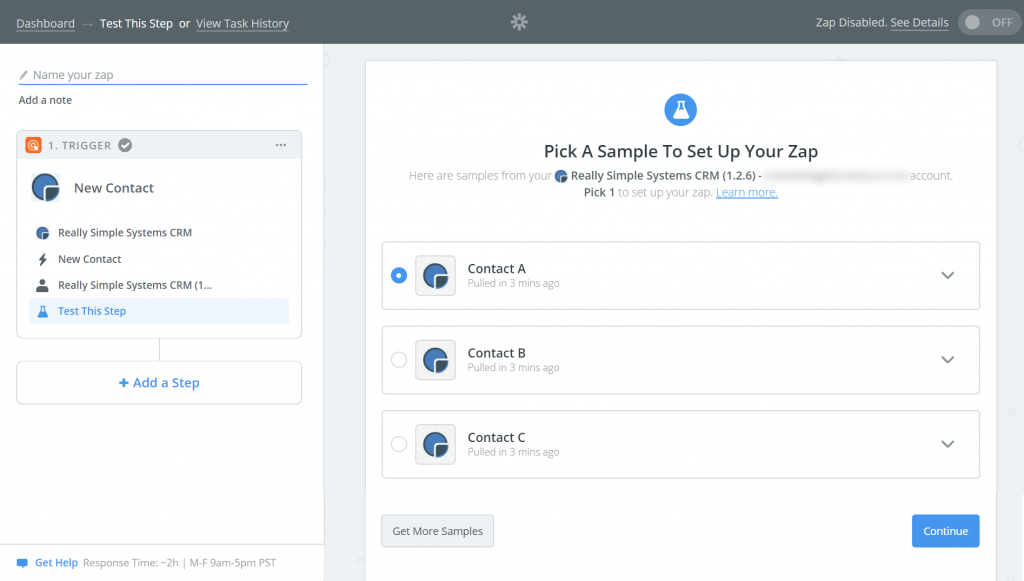
- Click “Continue”
- This completes setting up the Trigger
Now set up the Action
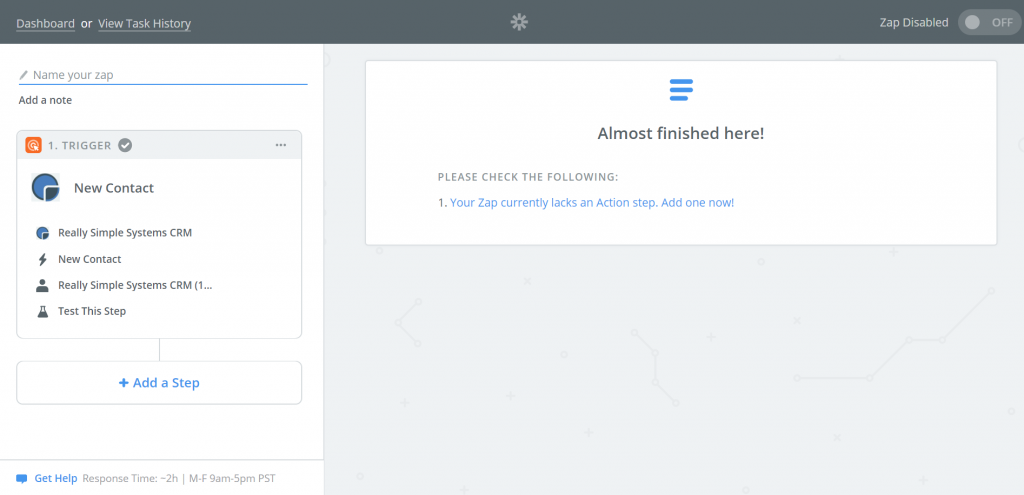
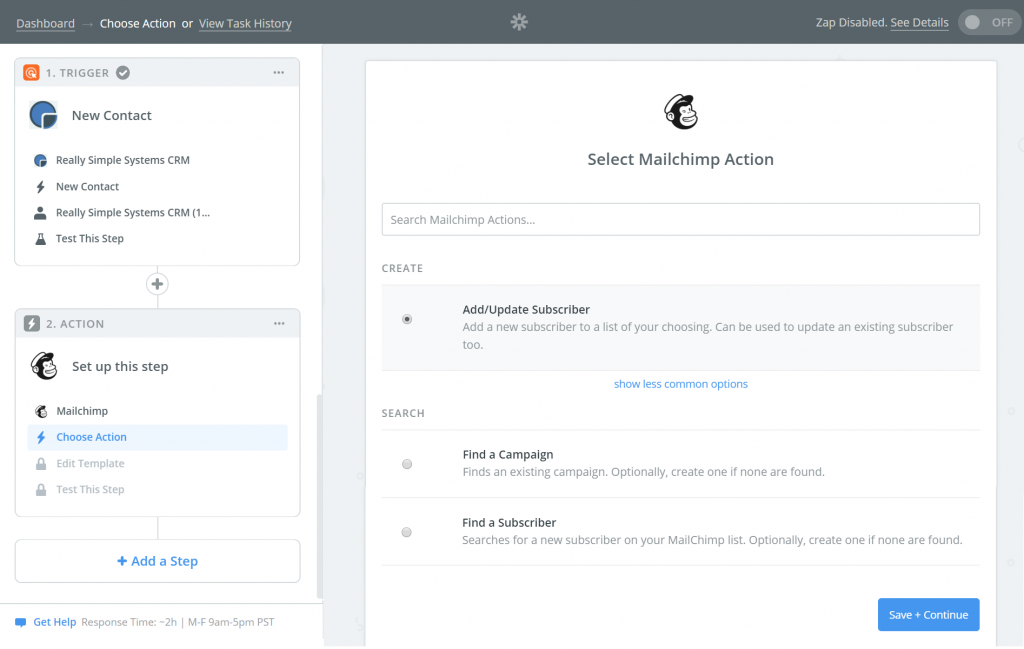
Select another App to link to. If you don’t have another App that you have already linked to, find one using the Search box at the top of the page. For this example, we’ll link to Mailchimp. Search and select the Mailchimp App.
Select Add/Update Subscriber and click “Save & Continue”
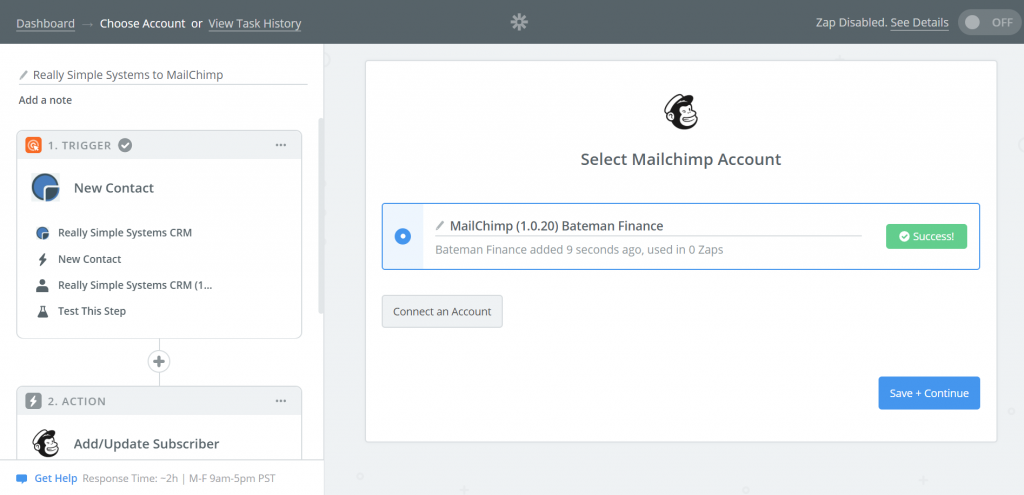
Next connect your Mailchimp Account and click “Test” to test the connection then “Save + Continue”
Select the MailChimp options you require and click “Continue”
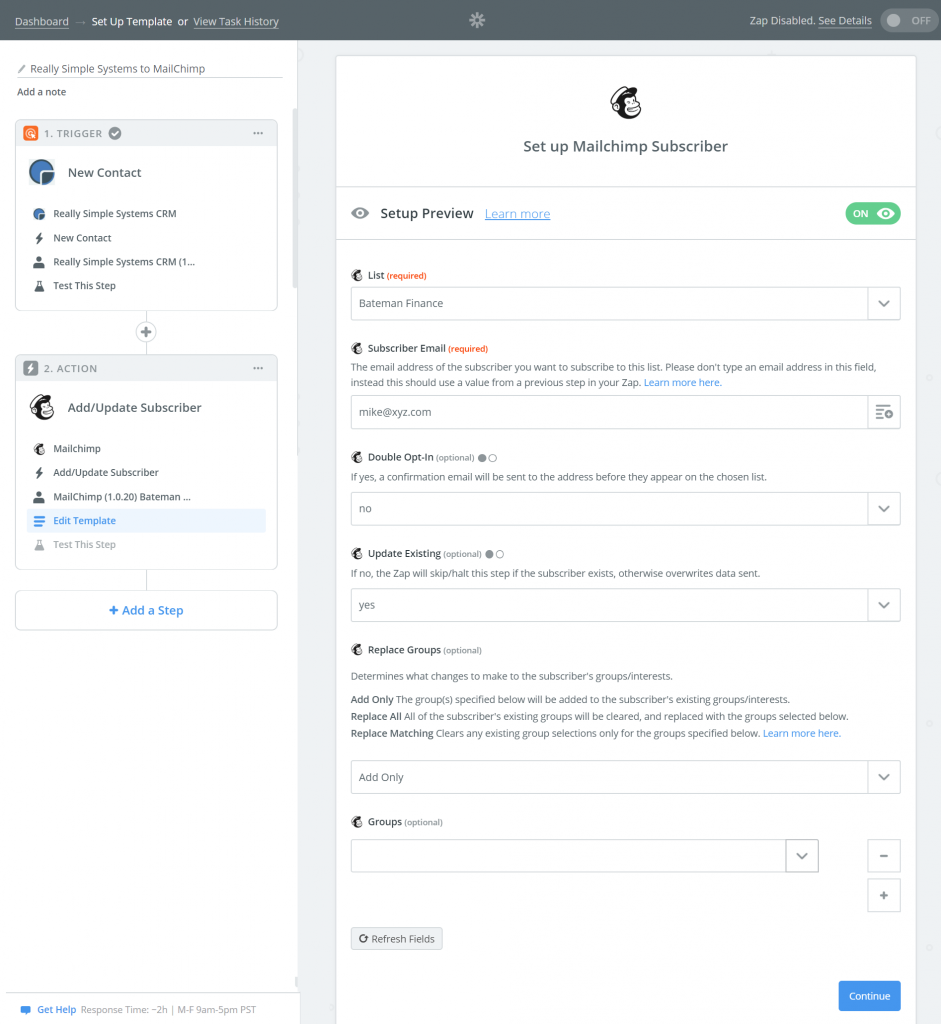
Zapier will return a test Subscriber to “Test and Send to Mailchimp”, then click to Continue
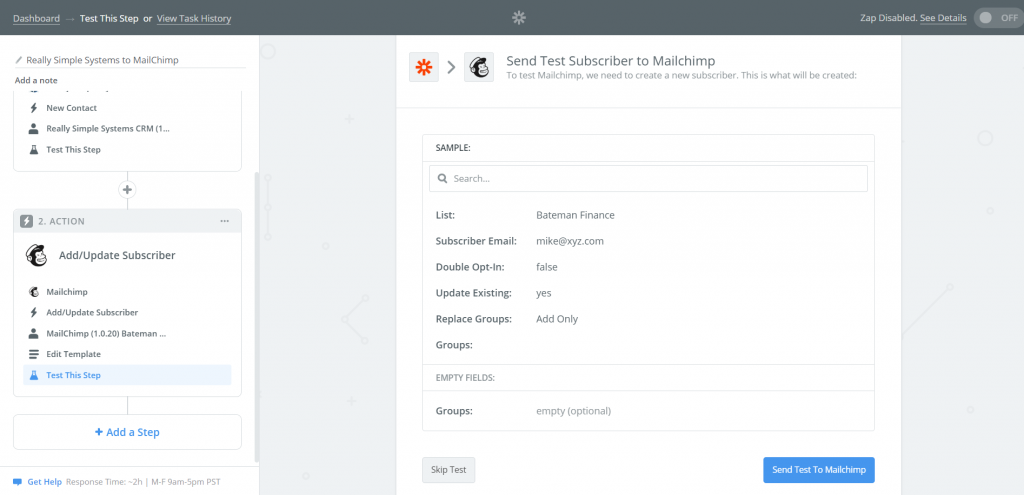
Click “Finish”
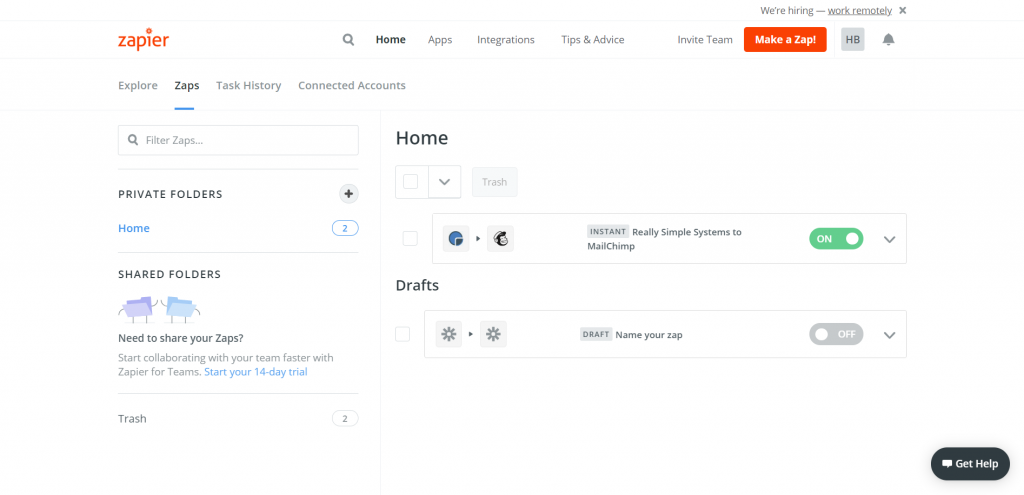
Give your Zap a name and turn it on using the toggle button
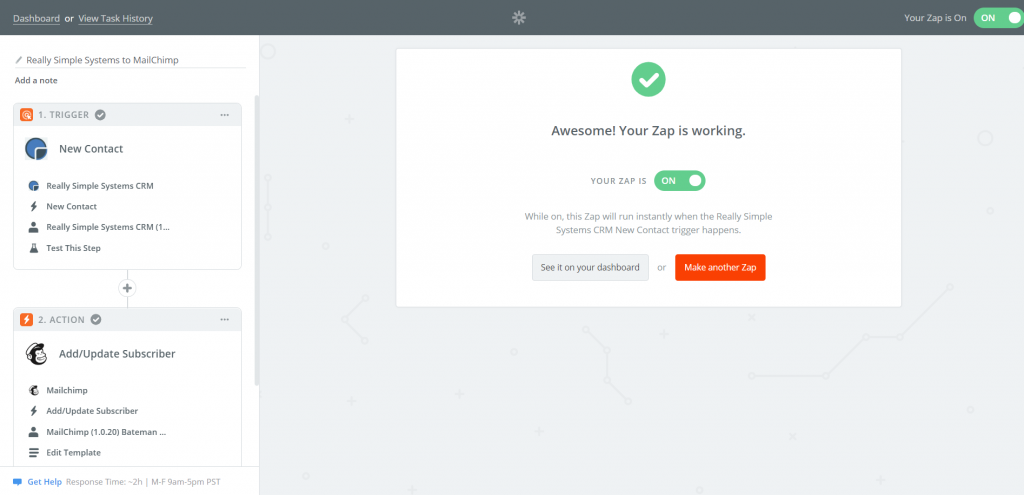
That’s it! Now every time a Contact is added to your CRM system, it will be added to your Mailchimp list.
Zapier Integration Limits
Both SpotlerCRM and Zapier have limits on how many API calls/Tasks you can run in a given time.
SpotlerCRM limits how many API calls you can make per day/month, depending on your subscription payment plan. See CRM Features for full details. Bear in mind that a typical Zap could use many API calls if it has multiple stages. You can see your API usage in your CRM by looking at the API log, under Settings/Integrations/API V4. If you hit your payment plan API limits, or try to add more Accounts than your Plan allows, the Zap will fail and you will receive a notification email from SpotlerCRM.
Likewise, Zapier limits how many Tasks you can run a month depending upon your subscription payment plan. If you hit your limit your Zaps will pause and you’ll get an email from Zapier suggesting that you upgrade.
Support
Should you need support please contact Zapier via their FAQ page or email via their Contact Us form.
Triggers Documentation
New Contact Trigger
This triggers when a new Contact is created in the CRM.
It can pass all the Contact fields across to the next Zap, for example to pass to MailChimp’s Add/Update Subscriber Zap. See the example given in the Examples tab for a step by step guide as how to use this Trigger to add contacts to MailChimp.
New/Updated Account
This triggers when an Account is created or updated in the CRM.
New Activity
This triggers when a new Activity is created in the CRM.
New Task
This triggers when a new Task is created in the CRM.
New/Updated Opportunity
This triggers when an Opportunity is created or updated in the CRM.
Actions Documentation
Create Account Action
This will create a new Account in your CRM.
If the Account Name is left blank or mapped to a value that returns empty, an Account with the name “—“ will be created.
Create Contact Action
This will create a new Contact in your CRM.
You need to either link the Contact to an existing Account from the Account dropdown, or select Use a Custom Value and then use the Account Id from a previous step such as a Find or Create Account.
Create Task Action
This will create a new Task in your CRM.
You need to either link the Task to an existing Account from the Account dropdown, or select Use a Custom Value and then use the Account Id from a previous step such as a Find or Create Account.
If you set the Status to “Completed”, the Task will appear as an Activity!
Create Activity Action
This will create a new Activity in your CRM.
Create Opportunity Action
This will create a new Opportunity in your CRM, optionally with Opportunity Lines.
Update Dropdown List Action
This will update a Dropdown List in your CRM by adding an item to a list.
Find Account Action
This will find an existing Account in your CRM, with the option to create a new one if the Account doesn’t exist.
Find Contact Action
This will find an existing Contact in your CRM, with the option to create a new one if the Contact doesn’t exist.

