Activate Marketing in your CRM
The Marketing tool is available as an add-on option in your CRM. We offer two package plans, Simple Marketing and Advanced Marketing, that let you start small and upgrade for more functionality when you need to.
To activate the Marketing tool in your CRM system, go to Settings then Manage Subscription and select Change Plan & Options. Use the toggle button to select either the ‘Simple Marketing’ or ‘Advanced Marketing’ option, and Save Changes.
The menu options for the package you have selected will then appear on the main menu under the Marketing tab. You may need to logout and back in again to activate the changes.

User Permissions
If you are using the User Permissions Levels feature to manage your teams and roles, (a feature of the Professional and Enterprise plans), you will need to determine who is allowed what access to the Marketing tool, including yourself.
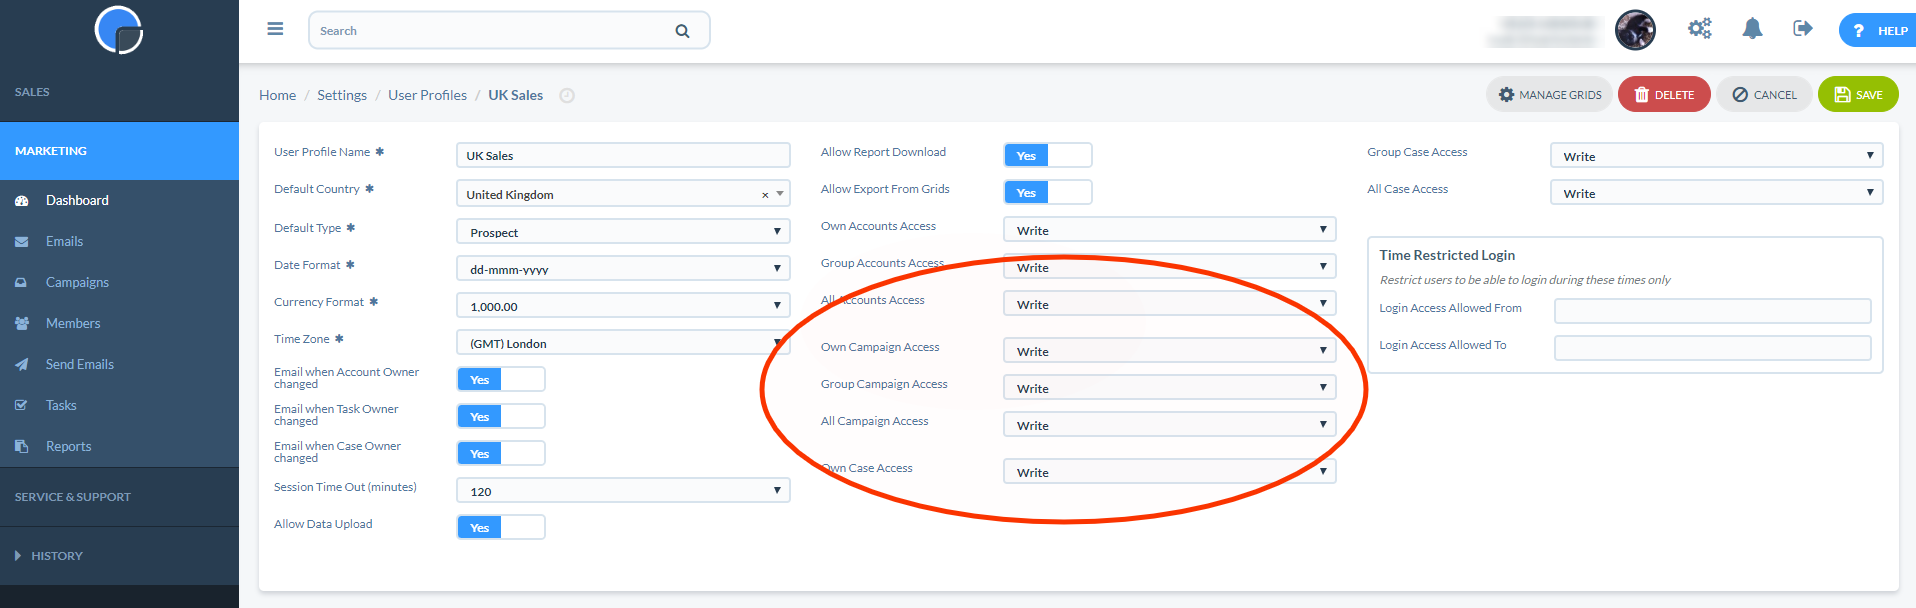
Go to Settings / User Settings then User Profiles and click to select the User Profile you wish to update. You will see three fields that control access to your Marketing Campaigns, i.e. your Own Campaign Access , your Group Campaign Access, and All Campaign Access. If all are set to the default, “None”, then Users with that User Profile will not be able to access the Marketing tool. Give yourself ‘Write’ access to all three to set the system up, then log off and log back on again.
If you do not have User Permission Levels enabled all your Users will have access to the Marketing tool.
DNS Settings for Email Marketing
If you are sending a lot of marketing emails, say 10,000 a month or more, you can improve your Sender Reputation and deliverability by creating DKIM and SPF entries in your domain’s DNS settings.
When our Email Marketing CRM tool sends out your marketing emails, it sends them through a third party bulk emailing system called SendGrid. We use SendGrid both to deliver emails and to track the email member status, that’s your opens, clickthroughs, bounces and unsubscribes.
Without the extra DNS entries some email clients will show the ‘From’ field in the emails as “Sent by SpotlerCRM on behalf of” and then your email address. If you are only sending a few emails out every month, this isn’t a huge problem.
However, if you are sending 10k plus emails each month it’s worth adding DKIM and SPF entries to your domain’s DNS settings. These settings tell the recipients’ email servers and spam filters that the sending mail server is authorised to send emails on your behalf, and isn’t spam.
To make these setting you will need access to the DNS server that maintains your domain. This is normally done by your IT department or whoever manages your website. If this isn’t you, forward this page to the correct person.
Creating the DNS Entries for your DKIM and SPF Records
The entries for your DKIM and SPF settings are maintained automatically by SendGrid. To enable SendGrid to do this you need to create three CNAME records on your DNS settings.
Please contact our Customer Support Team who will create the values for CNAME records and send them to you.